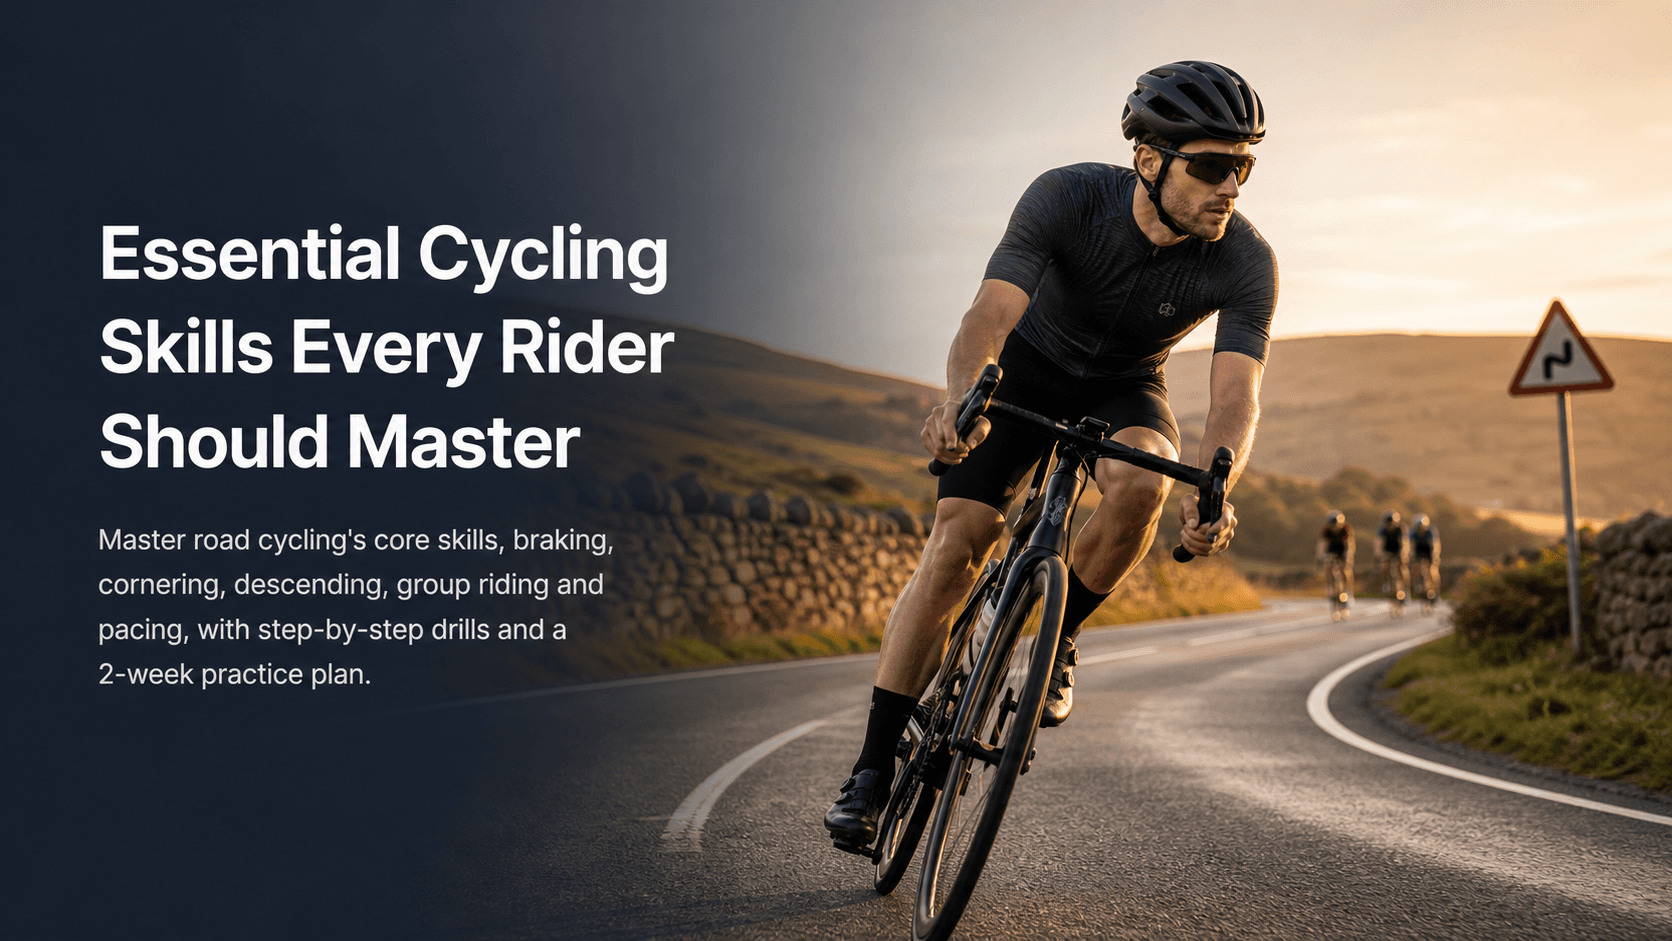
Essential Cycling Skills Every Rider Should Master
Master road cycling's core skills, braking, cornering, descending, group riding and pacing, with step-by-step drills and a 2-week practice plan.
Your new groupset won't save you on a wet descent. Your carbon wheels won't stop you overlapping a wheel in a paceline. And no amount of kit will make up for freezing on the brakes mid-corner when you should have set your speed before the turn.
Skills are what keeps you safe and what makes you faster, and they show up most obviously in the moments that matter: tight descents, fast corners, busy club rides. This guide walks you through the essential cycling skills every road rider should build, with practical drills for each one, the common mistakes to avoid, and a simple 2-week plan to get started. You'll also find guidance on timing your practice sessions around conditions that actually let you focus on technique rather than battling the elements.
1. Read the road and ride with your eyes
New riders often stare at the tarmac directly in front of their wheel. It feels instinctively safe, but it's actually one of the more dangerous habits on a bike, because by the time a pothole or patch of gravel enters your field of view, you're already on top of it.
Good observation means scanning well ahead, reading the road surface for camber changes, drainage grates, and loose material, and spotting junctions early enough to adjust your speed calmly. On a descending bend, British Cycling recommends looking down the road to where you want to go rather than at the tarmac immediately ahead of your front wheel. The same principle applies on the flat: give your eyes a longer lead time and your brain a longer decision window.
Drill: the 20-second scan. On a familiar, low-intensity route, consciously identify at least three potential hazards every 20 seconds. Ride with a partner and call out hazards aloud. It feels obvious at first, then becomes automatic.
2. Braking: control, not panic
The road bike braking technique that matters most is this: do the vast majority of your braking in a straight line, before the corner, not during it. British Cycling states it clearly: "Safe riding requires doing the majority of your braking in a straight line, leaning the bike, not your body, through corners, and keeping your centre of gravity low when descending."
On a standard UK-setup road bike, your front brake is on the right and your rear is on the left. The front brake provides the most stopping power, but grab it harshly when leaned over and things go wrong quickly. The technique is smooth modulation: apply both brakes progressively, shifting your weight back and down as you slow.
Common mistakes: braking while leaned over, panic-grabbing the front only, and leaving braking too late so you enter a corner with too much speed.
Drill: progressive stops. On a quiet, traffic-free stretch, ride at a comfortable pace and practise stopping in progressively shorter distances. Focus on applying both brakes simultaneously and smoothly, shifting your weight rearward without locking either wheel. Start where you feel comfortable and gradually tighten your target stop zone.
3. Cornering technique: line and traction
Good cycling cornering technique starts before the bend. Set your speed on the approach, choose your line (typically entering wide, hitting the apex, and exiting wide), then let the corner unfold with minimal steering input.
Lean the bike, not your body. Keep your outside pedal down and weighted, relax your upper body, and fix your eyes on the exit of the corner, not the road immediately in front of you. Tension in your arms transmits directly to the bars and kills your ability to make smooth corrections.
Common mistakes: braking mid-corner (if you need to, do it very gently with the rear only), cutting the apex too tightly, and letting the inside pedal dip on a low-clearance bend.
Drill: car park cones. Set out a simple series of cones or markers and practise the wide-entry, apex, wide-exit line at walking-pace first, then at increasing speed. Once it feels reliable on smooth tarmac, progress to real low-traffic corners. Focus on where your eyes go, not on the bars.
4. Descending: stable position and calm inputs
Descending well is mostly about staying relaxed when your instincts are telling you to tense up. A death grip on the bars stiffens your arms, transmits every road buzz to your steering, and tires you out. Instead, bend your elbows, keep your hands in a brake-ready position in the drops, and let the bike move beneath you.
For steep or technical descents, drop your heels and push weight through the pedals. Keep your centre of gravity low. Look well ahead (as per the road-reading section above) and set your speed well before the corner, not inside it.
Common mistakes: gripping the bars too tightly, braking late into a bend, and holding a rigid upper body over rough patches of road.
Drill: controlled segments. Pick a descent you know well. Ride it at 80% of your normal pace, focusing entirely on relaxing your grip and smoothing out your braking inputs. Build speed only once the relaxation piece feels consistent. You'll almost certainly find that a calmer, more relaxed position actually produces better speed than a tense, fighting one.
5. Pacing: the skill that keeps you in the ride
Pacing is a genuine skill, and on a first sportive or a hilly club run, it's often the one that fails first. The pattern is familiar: ride hard on the first climb because you feel good, then limp through the final 30 km on empty.
A pacing strategy for road cycling starts conservatively. On rolling terrain, resist surging over every rise. On long climbs, find a sustainable rhythm and hold it even when others pull away. Your rate of perceived exertion is useful, but learning to gauge effort against terrain and distance is what separates riders who finish strong from those who just finish.
Drill: negative splits. On a known loop, aim to ride the second half marginally faster than the first. This forces you to hold back early and teaches you to manage effort across varied terrain. You can also try a tempo ladder: ride 5 minutes at easy pace, 5 at moderate, 5 at tempo, then work back down.
When the wind affects cycling significantly, pacing gets harder to judge. A strong headwind on the first half of a loop can leave you thinking you're working harder than you are; the tailwind home then distorts your effort perception in the other direction.
6. Gear selection and cadence: spin early, not late
Gear and cadence habits are something riders develop slowly, then suddenly realise they've been doing wrong for years. The most common error is grinding: staying in a gear that's too high for too long on a climb, loading the knees, burning through energy, and arriving at the top already compromised.
Good cadence and gear selection for road cyclists means shifting before you need to. As you approach a climb, drop two gears before the gradient kicks in. Aim to maintain a cadence somewhere in the 80-95 rpm range, though this varies by rider. If you feel your cadence dropping below around 70 rpm on a climb, you've waited too long.
Common mistakes: waiting until you're already struggling to shift, mashing a big gear up a long climb, and then spinning out on the descent with no gears left to push.
Drill: cadence targets on short climbs. Pick a 2-3 minute climb you know. Ride it three times: once at your natural cadence, once deliberately higher (90+ rpm, lighter gear), once deliberately lower (65-70 rpm, bigger gear). You'll quickly feel the difference in leg fatigue and breathing.
7. Riding in a group: etiquette and wheel safety
Group riding etiquette in road cycling isn't just politeness. It's functional safety. A single unpredictable move in a paceline can bring down multiple riders. The foundational rules are simple:
- Don't overlap wheels. If the rider ahead brakes or swerves, your overlapping front wheel will deflect and take you down. Sit directly behind or offset to the side, never half-a-wheel-width alongside.
- Call and signal hazards. Shout "hole!", "gravel!", or "slowing!" and pass the signal back down the group. Everyone relies on the riders ahead for information.
- Smooth on the brakes. Sudden braking in a group compresses like an accordion, and riders at the back absorb the worst of it. Feather your brakes early and progressively.
- Hold your line. Don't swerve to avoid small road debris if it means moving into another rider. Stay predictable.
Drill: pairs practice. Before joining a full club run, practise riding closely with one other trusted rider. Focus on holding a steady distance, signalling hazards, and braking smoothly. Once that feels controlled, progress to a small group of three or four.
For planning your club rides route planning, understanding which routes expose the group to sustained crosswinds or headwinds is worth factoring in alongside handling skills.
8. Road safety fundamentals: predictability and compliance
Road cycling safety in the UK starts with being predictable. Signal turns clearly and early, hold a consistent road position, and make eye contact with drivers at junctions. Erratic movement is what causes accidents; drivers and other cyclists can respond to your behaviour if they can predict it.
The Highway Code (rules 59 to 82 cover cyclists specifically) provides the baseline. Signal before turning, take a road position that makes you visible rather than hugging the kerb where you become invisible, and use lights front and rear in low visibility.
Helmet fitting is worth getting right. A helmet that sits too far back, or wobbles when you move your head, won't perform as designed in an impact. It should sit level, two finger-widths above your eyebrows, with straps forming a V under each ear.
Pre-ride check: before every ride, run through tyres (pressure, no cuts), brakes (firm lever feel, pads aligned), quick-releases or thru-axles (secure), and lights (charged). It takes 90 seconds and removes several categories of mechanical surprise.
9. Condition-aware practice: use route-specific weather to pick the right sessions
Here's where most riders leave improvement on the table. They know what skills to practise but don't think about when to practise them. Wet roads and gusty winds aren't the conditions to build cornering confidence. But they're exactly the conditions some riders inadvertently start their skills work in, simply because they didn't check the forecast properly.
Tailwind GPS assigns every saved route a Tailwind Score from 0 to 100 for each departure hour, calculated from route-specific hourly sampling of wind direction, wind speed, temperature, and precipitation along each segment of your actual route, personalised to your pace. Free users get a 3-day forecast across up to 3 saved routes. Paid subscribers (from $2.99/month or $19.99/year) unlock 14-day forecasts across up to 40 routes, plus route-specific email alerts when a route hits your target score.
For skills practice, that's directly useful:
- Braking and cornering confidence: look for a dry window with low wind (high score on your preferred quiet loop). Wet roads reduce available grip and make progress harder to assess.
- Pacing and endurance drills: wind affects cycling effort significantly. Use the score to identify sessions where the wind is broadly neutral, so your perceived effort reflects your actual fitness rather than fighting a headwind.
- Headwind training: if you want to build strength deliberately, the headwind and tailwind training workflow lets you filter for exactly the conditions that will make you work harder.
Swiping between your saved routes and comparing departure hours takes seconds on your phone. If Saturday at 8am shows a score of 72 on your skills loop and the same route at 10am shows 41 because the wind picks up, that's a decision made.
Common mistakes: a quick diagnostic
If you recognise any of these patterns, you've identified your starting point:
- You're panic-braking regularly - practise earlier, smoother braking and a rear weight shift on a quiet road.
- Corners feel sketchy - brake fully before the turn, widen your entry, and fix your eyes on the exit.
- Group rides feel chaotic or dangerous - drill communication, wheel separation, and smooth braking with a single trusted partner first.
- You blow up on long rides - pacing and cadence work on a known route, with attention to effort in the first half.
- Descents feel out of control - slow them right down and rebuild from a position of relaxation before adding speed.
A simple 2-week practice plan
This plan assumes you have access to a quiet road or car park for drills, and at least two sessions per week.
Week 1: foundations
- Session 1: braking drills on a quiet flat stretch. Progressive stops, both brakes, weight back. 20 minutes.
- Session 2: road-reading on a familiar low-intensity route. Hazard call-outs, 20-second scans, no phone. 45-60 minutes.
- Session 3: cornering in a car park or quiet road. Cones or marks. Entry-wide, apex, exit-wide. 20-30 minutes.
Before each session, check the Tailwind Score on your route. Target a score above 55 and a dry forecast. If the score is low due to rain or gusty wind, shift the session by an hour or reschedule.
Week 2: build on the foundations
- Session 1: descending confidence on a gentle known hill. Relaxed grip, smooth braking, eyes ahead. Slow, then progressively faster.
- Session 2: pacing drill on a rolling route. Negative splits or tempo ladder. Note how wind direction affects your effort in each direction.
- Session 3 (only if Week 1 cornering/braking felt solid): find a small group of 2-3 riders and practise paceline basics. Signal hazards, hold lines, smooth braking.
For the group session specifically, planning your departure time around the wind forecast for your route helps you pick a window where crosswinds aren't adding an extra variable into the mix.
Skills keep you safe and make you faster
The riders who feel confident on fast descents and in tight groups didn't get there through better equipment. They got there through deliberate practice, usually on quiet roads at lower speeds first, and they built one skill before piling on the next.
Braking, cornering, descending, pacing, gear selection, group riding, road awareness: work through these in order, use the drills, and the speed and confidence you want will follow.
Save your regular routes in Tailwind GPS, check the hourly score before your next skills session, and practise when conditions are actually on your side.
Practise when it counts
Pick dry, low-wind windows for skills sessions with hourly route scores.
Related posts

Introducing Ride Huddles: a simple way to choose your next group ride
Ride Huddle is a simple way for groups to choose a route together. Create a Huddle, add your routes, share one link, and let everyone vote — free, with no account required.
·2 min read
How to navigate a cycling route without getting lost
Stay on the line with in-browser turn-by-turn: voice prompts, navigate-to-start, and rerouting. Tailwind GPS is the phone navigation — export GPX only for a head unit.
·8 min read
How to plan a cycling route and navigate it on your phone
Plan a cycling route on your phone, pick the best hour, then start in-browser turn-by-turn. Tailwind GPS includes voice prompts, navigate-to-start, and rerouting.
·6 min read