Wind-aware cycling app: plan harder days and easier days
Turn wind forecasts into two simple decisions — when to ride for an easy tailwind day, and when to schedule a deliberate headwind session. A practical training workflow with Tailwind GPS.
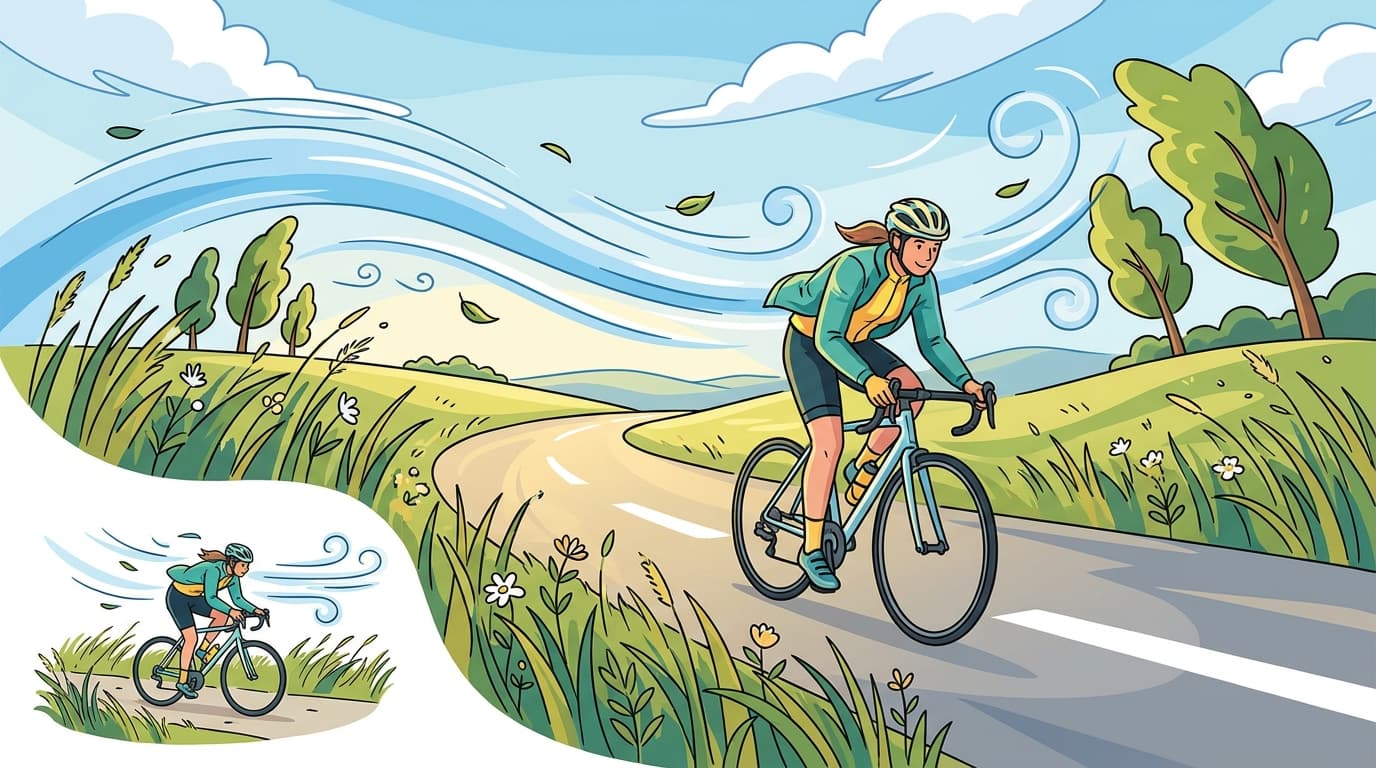
You check the weather app. It says 18 km/h from the north-east. And you still have absolutely no idea whether Tuesday's loop will feel brilliant or brutal.
That gap, between a generic forecast and the actual feel of your ride, is exactly what Tailwind GPS was built to close. Not by giving you more weather data to interpret, but by turning wind forecasts into two simple decisions: when to ride for an easy day, and when to ride for a hard one. For how scores work on your Strava routes, see wind scores for your Strava routes.
Why generic weather is the wrong tool for cycling training
The problem with a standard forecast is that wind direction only means something relative to where you're riding. A northerly could be a screaming tailwind on your Monday evening loop and a punishing headwind on your favourite Saturday route. Two riders, same forecast, completely different experiences.
And the asymmetry is real. According to Yellow Jersey (February 2020), for every 5 km/h of additional headwind, a cyclist loses roughly 10% of their speed. A tailwind of the same strength doesn't give you back the same time, you're still pushing air on the return leg. So reading a forecast correctly isn't just nice to have; it directly changes how a ride feels and whether you finish it feeling strong or spent.
The mainstream cycling apps — Strava, Komoot, Ride with GPS, Garmin Connect — handle navigation and route discovery (Cyclist.co.uk, February 2026), but none of them translate a forecast into a route-specific wind score for your departure time. You get the map. Tailwind GPS gives you the answer.
Train harder on purpose: what a "hard day" actually means in wind terms
A hard headwind day isn't an accident you endure. With the right planning tool, it's a session you choose.
In wind terms, a hard day means sustained headwind segments that push your effort up without increasing your pace, crosswind variability that demands constant balance and focus, and gust sensitivity that keeps your body working hard even on flat terrain. None of that requires a power meter to feel. Your legs already know.
The planning mindset shifts when you stop chasing a fast time and start seeking conditions that create a real workload. You're not trying to go fast. You're trying to go hard. That's a different objective, and it opens up a different way of looking at the forecast.
Tailwind GPS has a headwind training mode built precisely for this. Rather than nudging you towards the best conditions, it points you at routes and departure hours where the wind will genuinely make you work. The 0–100 Tailwind Score works in both directions: high scores (80–100) flag excellent tailwind conditions for easy days; low scores (0–19) flag routes and times where you'll be riding into sustained headwind. Both are useful. It depends what kind of day you want.
How to pick an easier day in about 60 seconds
This is the workflow in practice:
- Connect your Strava account, your saved routes import automatically, no rebuilding needed.
- Open the route you want to ride and scroll through the departure hours.
- Look for a score in the 80s or above. That window means the wind is mostly at your back for the majority of the route.
- Check precipitation risk is low (Tailwind includes temperature and rain along each segment, not just at your postcode).
- Set your departure time and go.
The Tailwind Score bands give you a quick read on conditions:
| Score | What to expect |
|---|---|
| 80–100 | Excellent, mostly tailwind, enjoy the ride |
| 55–79 | Good conditions overall |
| 40–54 | Neutral, mixed wind feel |
| 20–39 | Challenging, expect to work |
| 0–19 | Brutal headwind conditions |
A practical example: you have a regular 35 km weekend loop that heads out north-east before looping back south-west. A north-easterly wind would hurt you on the way out and only partially help on the way home. Tailwind picks that up segment by segment and reflects it in the score. A score of 72 at 8am versus a score of 49 at 10am tells you immediately which departure window works in your favour, without you needing to work out the geometry of the route yourself.
How to pick a harder day without guessing
Flip the same process around. Open your route list and look for the lower-scoring windows, scores in the 20s and 30s during the hours you can actually ride. That's your hard session.
Set your departure for a window where the wind will be sustained and working against you for a meaningful portion of the route. Then go in with the right expectation: your pace will drop, probably noticeably. According to the Yellow Jersey rule of thumb, a 15 km/h headwind could already be costing you 30% of your normal speed. Chasing your usual average is counterproductive. Use perceived effort instead. Ride at a consistent hard effort, not a consistent speed, and you'll get the training effect you're looking for.
What makes this repeatable is that you planned it. It's not a bad ride that happened to be hard. It's a hard ride you chose. That shift in framing matters more than it sounds, especially over a full training block.
Tailwind's per-departure-hour scoring means harder sessions aren't left to chance. You can look at the week ahead and identify Tuesday morning as a headwind window on your usual training loop, then schedule accordingly.
Planning both hard and easy rides this week
Here's a simple weekly template that works well with Tailwind's planning window:
- Monday (easy): check scores for your regular loop, pick the departure hour with the highest Tailwind Score, keep the effort light and enjoy the assist.
- Tuesday (hard): look for a low-score window on the same or a slightly longer route, go in expecting effort over pace, and treat it as a proper training session.
- Wednesday: rest or cross-train based on how Tuesday felt.
- Thursday/Friday: repeat the pattern based on what the 14-day forecast shows.
Subscribers on Tailwind GPS get a weekly summary email that does most of this planning for you. It lands in your inbox with your best ride windows for the next seven days, route name, score, and recommended departure time included. You don't have to open the app every morning and compare hours manually. The information comes to you.
You can also set per-route email alerts with score thresholds. For instance, if you want to know every time your Saturday loop hits a Tailwind Score above 80, or every time a headwind window opens up on Wednesday morning, you set that threshold once and Tailwind notifies you when it's met. No daily checking required.
The 14-day forecast window (available on the subscriber plan) means you can look further ahead than most weather apps bother to show for cycling-specific conditions. Planning a long gravel ride for the weekend after next? You can already see the likely score range and start thinking about departure time.
What makes Tailwind GPS different from other cycling wind apps
The cycling wind app space broadly splits into two camps. One is device-first tools like WindField for Garmin ConnectIQ, which give you a live wind field on your head unit during the ride. Useful on the bike, but not built around pre-ride planning decisions. The other is route-forecast tools like Epic Ride Weather or the Headwind app, which offer minute-by-minute forecasts and route heatmaps with Strava integration.
Tailwind GPS sits in the second camp but approaches it differently. The focus is on one number per route per departure hour, a mobile-first interface designed for a 60-second check before you leave the house, and a training-mood framing that none of the main competitors make explicit. Epic Ride Weather offers detailed route forecasts but doesn't guide you towards deliberately hard or deliberately easy days as a workflow. The Headwind app gives you a difficulty score but is lighter on methodology and plan transparency.
Tailwind is also honest about what it isn't. It doesn't offer offline maps or live group tracking. But it does include browser-based turn-by-turn navigation with voice prompts, route drawing, and GPX import/export. It answers one question better than anything else: given the routes I already ride, when should I leave?
The interactive wind map with route overlays helps with planning confidence, you can see animated wind particles, direction arrows, and your route scored in real time before you commit to a departure time. But the headline experience is the score carousel: swipe your saved routes, read the number, make the call.
FAQ: will this actually help me?
How accurate are the forecasts? Route-level wind scoring is only as accurate as the underlying forecast model, and all weather forecasts carry uncertainty, especially beyond three to four days. What Tailwind adds is the translation layer: instead of reading raw wind data and mentally mapping it onto your route, you get a single score that accounts for your route's heading, segment lengths, and your riding pace. Even an imperfect forecast becomes more useful when it's applied to your actual ride rather than your postcode.
Do I need to redraw my routes? No. Connect your Strava account and your saved routes import automatically. You can also upload GPX files, draw new routes on the map directly, or use share links. The setup takes a few minutes, not an afternoon.
How does it support headwind training specifically? Tailwind's headwind training mode identifies routes and departure hours with low Tailwind Scores, making it easy to plan sessions where wind resistance is the training stimulus. You're not hoping for a bad day, you're scheduling one deliberately, then going in with the right pacing expectations.
What's the difference between free and paid? Free users get up to three saved routes and a three-day forecast window. Subscribers unlock up to 40 routes, the full 14-day forecast, weekly summary emails, per-route email alerts, and wind score notifications. The subscriber plan starts at $2.99/month with a seven-day free trial, so you can test the full feature set before committing.
What about data and privacy? Tailwind uses your Strava connection to import routes, it doesn't require access to your full activity history. For anything specific about data handling, the Tailwind GPS privacy policy covers current practices in detail.
Try planning your next easy day and your next hard day
The fastest way to see whether Tailwind GPS works for you is to try it on a route you already ride.
Connect your Strava account, open your favourite loop, and look at the scores across the next three days on the free tier. Find one departure window with a score above 75, that's your easy day. Find one with a score below 35, that's your hard session. Same route, different times, completely different rides. Done in under a minute.
If the 14-day window and weekly emails sound useful, the seven-day free trial on the subscriber plan costs nothing to try. Start with three routes on the free tier and upgrade when the forecasting window matters.
Wind is going to be there whether you plan for it or not. You might as well decide which way it's blowing.
Related posts

How to Build Endurance Without Overtraining
Learn how to build cycling endurance without overtraining using a practical load, recovery, and adjustment system. Includes Zone 2 tips, warning signs, and weekly templates.
·10 min read

How to Improve Your Climbing
Climb faster on your road bike with structured FTP, threshold, and VO2 max training, plus smarter pacing, cadence, and route-specific wind planning.
·10 min read

How to ride faster without getting fitter: a quick-wins checklist
Ride faster on the same fitness with proven aero, cadence, drafting, and pacing techniques. Includes a pre-ride safety checklist and a real-ride example.
·9 min read