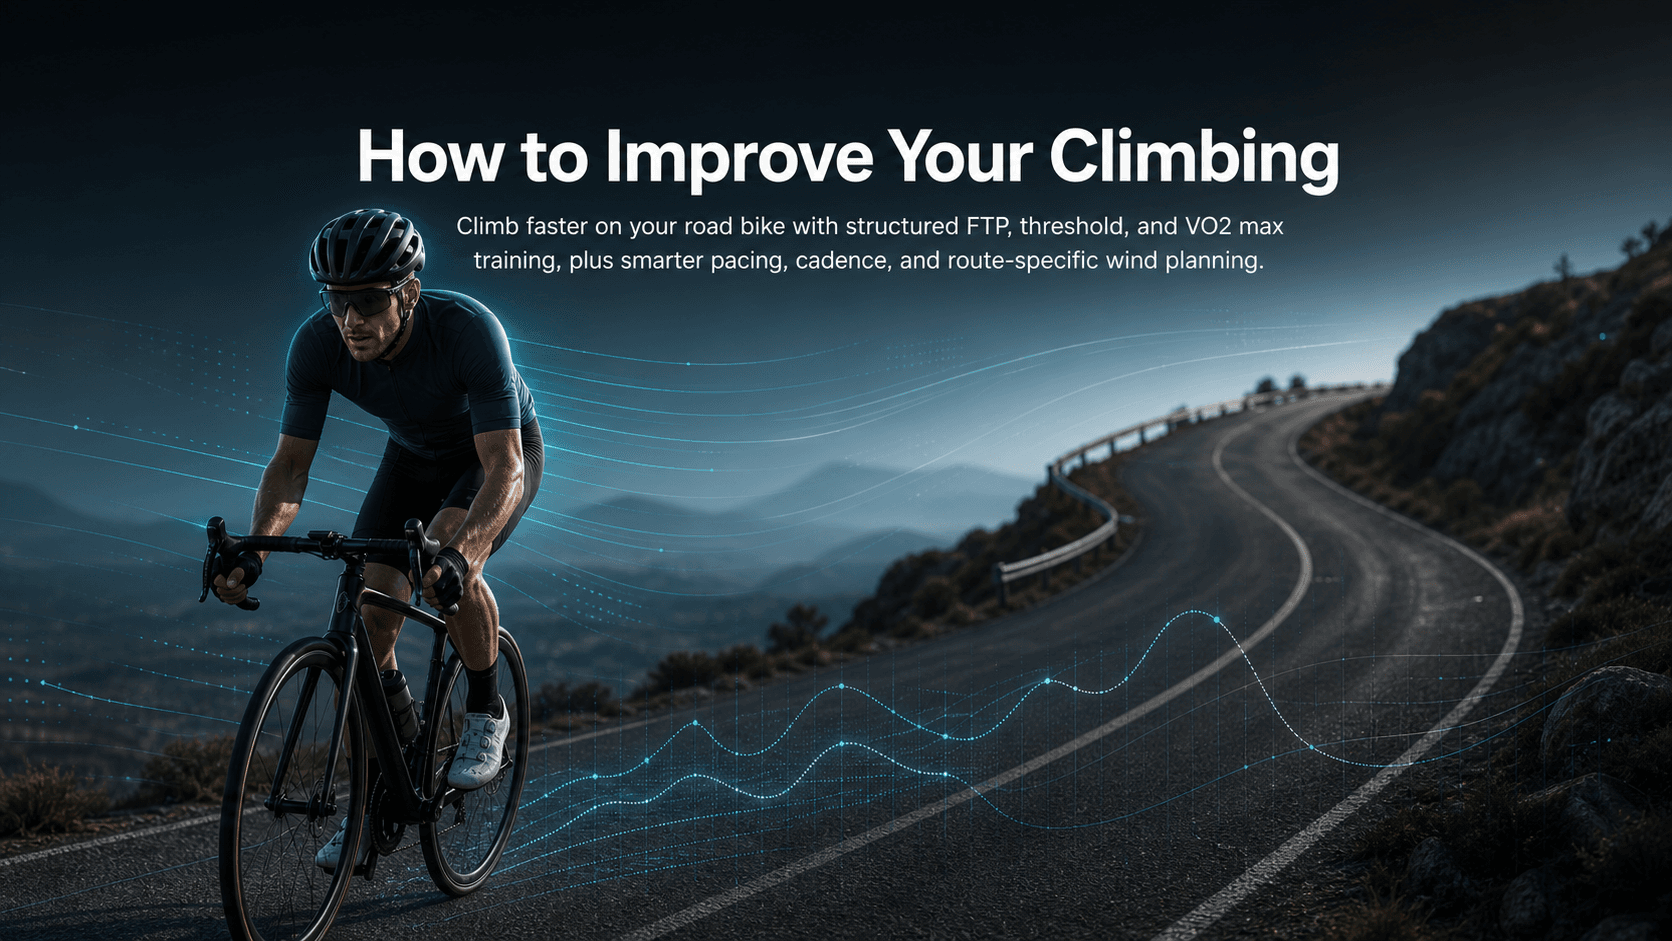
How to Improve Your Climbing
Climb faster on your road bike with structured FTP, threshold, and VO2 max training, plus smarter pacing, cadence, and route-specific wind planning.
You've done the miles. You've ridden the hills. And yet every time a proper climb appears, you're still watching wheels drift away from you. Sound familiar?
Improving your climbing on a road bike isn't one thing. It's a combination of fitness you build over weeks, technique you can improve on the next ride, and, often underrated, the conditions you choose to train in. This guide covers all three, with specific, actionable steps you can start this week.
Who this is for: Intermediate road cyclists who ride with structure (or want to start), track their efforts, and want real gains on climbs.
Prerequisites: A basic understanding of training zones, ideally access to a power meter or smart trainer. A heart rate monitor works too.
Expected time investment: 4–8 weeks to see meaningful FTP and climbing improvements with consistent application.
Are you training your fitness or fighting a headwind?
Before diving into intervals, here's something worth confronting: a lot of "hard climbing sessions" are genuinely unfair. You head out on a Saturday morning, hit the target climb, and grind through it, but the wind was directly in your face for the upper half, the temperature was low, and you were already carrying fatigue from Thursday. The data looks poor. You think your fitness is stagnant. It might not be.
According to a 2020 analysis by Yellow Jersey, every additional 5 km/h of headwind costs you approximately 10% of your speed. On a climb where gravity is already doing its worst, that compounds quickly. If your key hill sessions consistently fall on high-wind days, you're accumulating training stress without getting accurate feedback on your fitness.
You can't out-train poor planning. But you can reduce that variance by choosing when to ride and which route to take based on conditions along the climb itself, not just a generic town-centre forecast. The route-specific planning section covers that in detail.
The 3 levers that actually move your climbing
On a climb, aerodynamics matter far less than on the flat. Gravity dominates. The single most important number is your power-to-weight ratio, expressed as watts per kilogram (W/kg).
The formula is straightforward: divide your FTP in watts by your body weight in kilograms. A rider producing 250W FTP at 70 kg has a W/kg of 3.57. That same rider at 65 kg, without changing their fitness, would be 3.85 W/kg.
So the three levers are:
- Raise your FTP (highest priority)
- Raise your VO2 max (expands the ceiling your threshold can grow into)
- Manage body composition (realistically, losing 2–3 kg while maintaining power is a genuine gain)
For a quick self-check: estimate your FTP, divide it by your body weight, and use that as your baseline. Most competitive club riders sit in the 3.0–4.0 W/kg range. If you're targeting cat 3/4 racing, 4.0+ W/kg is a useful benchmark.
Measure your baseline FTP so your intervals make sense
Every training zone you use is a percentage of your FTP. If your FTP estimate is off, every interval is miscalibrated.
The most common field test is the 20-minute FTP test. As described by TrainerRoad, you ride at your highest sustainable power for 20 minutes, then take 95% of your average power as your FTP estimate. If you average 270W over the 20 minutes, your estimated FTP is 256W.
A few things commonly go wrong:
- Going out too hard. Minutes 1–5 feel fine; minutes 15–20 fall apart. Aim for a controlled, even effort.
- Wrong terrain. Use a consistent gradient or flat road. Interruptions (junctions, descents) skew the result.
- No warm-up. A proper 15–20 minute warm-up with two or three short sharp efforts is essential before the test.
Pick one testing protocol and repeat it every 4–6 weeks. Consistency in your testing conditions matters as much as the test itself.
Build the endurance base: Zone 2 for long climbs
Long climbs are primarily aerobic efforts. Without a solid aerobic base, even decent threshold fitness will feel unsustainable beyond 15–20 minutes of climbing.
Zone 2 training (roughly 60–75% of FTP, or a fully conversational effort on heart rate) builds the mitochondrial density and fat oxidation capacity that underpins every harder effort you do. Most coaches recommend making the majority of your weekly volume Zone 2, with intensity sessions sitting on top, not replacing, that base.
Practical Zone 2 sessions:
- 60–90 minute steady ride including gradual climbs at fully controlled pace
- A recovery endurance spin following a threshold day, accumulating volume without adding fatigue
- Weekend rides of 2+ hours where you can hold a full conversation throughout
If you're riding three days a week, protect at least one of those sessions for genuine Zone 2. It's tempting to make every ride a hard ride. That approach limits long-term climbing gains.
Raise your threshold: the climb engine
FTP is the engine of your climbing. Threshold training, working at or just below your FTP, is the primary driver for raising it. TrainingPeaks cites classic threshold workout structures including 3×10-minute and 3×15-minute FTP intervals as effective ways to build sustainable power.
A practical starting structure for road cyclists:
- 3×10 min at FTP with 5 min easy between efforts (good entry point)
- 3×15 min at 95–100% FTP with 5–7 min recovery (once 3×10 feels manageable)
- 2×20 min at 95% FTP (a classic longer threshold block for experienced riders)
For climbing specificity, over-under intervals are particularly useful. These alternate between slightly below FTP (say 88–92%) and slightly above (105–108%), teaching your body to clear lactate during the lower-intensity phases, which mirrors the surges and gradient changes you get on real climbs.
Two threshold sessions per week is the standard recommendation for building FTP, with at least one full rest or Zone 2 day between them. Trying to squeeze in three threshold sessions without adequate recovery doesn't build fitness, it just creates fatigue.
For outdoor execution, find a climb with a consistent gradient (or a flat road into a moderate headwind). You need to hold power without stopping. A climb that requires repeated braking or gear changes every 30 seconds makes it hard to execute the session cleanly.
Increase your ceiling: VO2 max intervals for cyclists
Your VO2 max is the maximum rate at which your body can use oxygen during exercise. Threshold power can't grow indefinitely above it, so raising your VO2 max expands the ceiling your FTP can eventually reach.
VO2 max intervals are harder and shorter than threshold work. According to Roadman Cycling, VO2 max intervals are typically done at 106–120% of FTP, lasting 3–5 minutes per effort. A common structure is 4×4 minutes at that intensity with equal recovery, or shorter 30-second on / 15-second off efforts for a different stimulus.
From a climbing perspective, VO2 max work translates directly to steep, punchy segments and the ability to respond to accelerations without blowing up. It also helps on climbs where gradient varies, you can push through the steep ramps and recover slightly on the easier sections.
One VO2 max session per week is typically enough. More than that without adequate recovery tends to drag down your threshold sessions and overall quality. When you're newer to structured training, prioritise threshold work first, and add VO2 max sessions once that base is in place.
Cadence, gearing, and form on the climb
Cadence
The most common mistake intermediate climbers make is grinding a big gear, low cadence, high force per pedal stroke. That loads your muscles heavily and creates fatigue that arrives well before your cardiovascular system is at its limit.
According to USA Cycling, the most efficient climbing cadence is simply the one that produces the lowest heart rate and easiest breathing for a given power output. For most riders, that's somewhere in the 75–90 rpm range on moderate gradients. On steep ramps, cadence naturally drops, and that's fine. The key is to find your comfortable sweet spot rather than copying someone else's numbers.
If you're currently climbing at 60–65 rpm and struggling in the final third of climbs, experimenting with a slightly higher cadence (even just 5–8 rpm more) will often shift the load from your muscles to your aerobic system, where you have more endurance.
Gearing and shifting
Shift early. Don't wait until the gradient kicks up and you're already fighting to turn the pedals. The moment a climb steepens, shift before you need to, you'll maintain momentum and cadence far more easily than if you're trying to change gear under load.
If you're regularly running out of gears on climbs, a compact or subcompact chainset (50/34 or 46/30) combined with a wide-range cassette (32T or larger) is worth considering. Getting the right gearing isn't a weakness, it lets you hold the cadence and power output that your training is building.
Seated vs standing
Stay seated for the majority of your climbing. Seated climbing is more efficient, your weight is supported, your cardiovascular output is lower for a given pace, and your pedal stroke can be smoother.
Standing is useful for short, very steep ramps where you need to produce extra power momentarily, or to give specific muscles a brief change in loading. Standing for extended periods on long climbs tends to spike heart rate and burns energy faster than the pace warrants. Use it as a tool, not a habit.
Upper body and form
Keep your elbows bent, hands relaxed on the hoods or bar tops, and shoulders away from your ears. A tense upper body wastes energy and restricts breathing. Think about opening your chest slightly and keeping your breathing deep and rhythmic. On very steep sections, shifting your hands to the tops of the bars and gently pulling them towards you can help engage your core and open the chest further.
Pacing strategy: how to not blow up in the first 5 minutes
Over-pacing the early part of a climb is one of the most common reasons riders suffer in the final third. The bottom of a climb always feels easy, you're fresh, the gradient might be gentle, and enthusiasm is high.
For climbs of 10 minutes or longer, start conservatively. A good rule of thumb: if it feels slightly too easy in the first two minutes, you're probably about right. If it feels good, you may be slightly over.
Break the climb into mental checkpoints. Pick a switchback, a landmark, or a known distance marker, and ride to that point before reassessing. This prevents the psychological trap of staring at the summit from the bottom and trying to force the pace.
On a power meter, set a target range before you start. If wind conditions shift mid-climb (which they frequently do on exposed ascents), don't chase the same time as on a calm day, adjust your power targets and use the session for the training stress it provides, not the timestamp.
Turn weather from a threat into a training advantage
Here's where most climb training guides stop, and where the real gains often hide.
The same hill, ridden at the same effort, can produce wildly different times and perceived difficulty depending on wind direction and speed along the climb, rain, temperature, and even the time of departure. A 15 km/h crosswind that becomes a headwind as the road bends partway up a climb is something a generic weather app will never show you. But it's exactly the kind of variance that makes your interval data unreliable.
Tailwind GPS addresses this directly. Every route gets a Tailwind Score from 0 to 100 for every departure hour, based on route-specific analysis of wind direction, speed, temperature, and rain probability along each segment of the route, weighted to your expected pace. A score of 80–100 means favourable conditions for most of the ride. Below 40 and you're heading into a challenge.
For planning key climbing sessions, the workflow is simple:
- Save your target climb route (or import via Strava or GPX)
- Check the hourly Tailwind Score for your planned ride day
- Pick the departure hour with the best score for your intended session type
- If the best score still looks challenging, check the next two days and find your optimal window
Subscribers can plan up to 14 days ahead, useful when you're trying to line up a key threshold session with genuinely good conditions on a specific climb. The free plan covers 3 saved routes and a 3-day forecast, which is plenty for most weekly planning.
Think about it both ways, too. If you want a fair test of your fitness improvement, where watts translate cleanly to pace and time, choose the departure hour with the highest Tailwind Score. But if you want to build strength and resilience, Headwind Training mode deliberately surfaces routes and times with sustained headwinds, giving you structured overload without needing a coach or extra software. You can read more about planning harder and easier days with wind awareness in the Tailwind GPS blog.
This kind of wind-aware route scoring closes a gap that no amount of training structure alone can close: ensuring that your hardest sessions land on the right conditions, and your test efforts are actually comparable over time.
A sample 2-week climbing training block
This is a template for a time-efficient competitive rider with 4–5 sessions per week.
Week 1
| Day | Session |
|---|---|
| Monday | Rest or mobility |
| Tuesday | Threshold: 3×10 min at FTP, full warm-up/cool-down |
| Wednesday | Zone 2: 75–90 min steady |
| Thursday | Rest or 45 min easy spin |
| Friday | VO2 max: 4×4 min at 110–115% FTP |
| Saturday | Long Zone 2 or hill-specific ride: 90–120 min including a sustained seated climb |
| Sunday | Rest or gentle recovery ride |
Week 2
| Day | Session |
|---|---|
| Monday | Rest or mobility |
| Tuesday | Over-unders: 2×15 min alternating 3 min at 88% / 2 min at 105% FTP |
| Wednesday | Zone 2: 75–90 min |
| Thursday | Rest |
| Friday | Threshold on your target climb: 2×15 min seated at 95% FTP |
| Saturday | Long ride with controlled climbing sections |
| Sunday | Rest |
After completing this block, re-run your FTP test or at minimum track whether your interval power is holding across sets. If you're completing the final interval at the same wattage as the first, your fitness is moving in the right direction.
A note on strength training: if you include gym sessions, researchers published in NIH/PMC recommend spacing strength training and endurance sessions at least 6 hours apart to avoid interference. Canyon's coaching guidance suggests two to three strength sessions per week off-season, dropping to one to two shorter sessions in-season to maintain gains without adding fatigue.
FAQs
What cadence should I climb at? USA Cycling's guidance is that the most efficient climbing cadence is the one that produces the lowest heart rate and easiest breathing at your target power. For most riders, that's 75–90 rpm on moderate gradients. Experiment in 5 rpm increments and track how your heart rate and breathing respond.
Do I need to lose weight to climb better? Not necessarily, but body composition is one of the three W/kg levers. Raising your FTP gives bigger and faster returns for most riders. If you're training consistently and eating well, gradual improvements in body composition tend to follow. Chasing weight loss aggressively while training hard usually backfires through fatigue and lost power.
Should I train on my target climb route? Yes, where practical. Climbing the specific gradient trains the neuromuscular patterns, gear choices, and pacing judgement you'll use on that hill. That said, a consistent flat road or gentle incline is fine for FTP intervals if the target climb has too much gradient variation to hold steady power. Use the interactive route planning map to check conditions on your specific climb before heading out.
How do I calculate my W/kg? Divide your FTP (in watts) by your body weight (in kilograms). Example: 260W FTP / 72 kg = 3.61 W/kg. Update this number every time you re-test your FTP. It's the clearest single measure of climbing potential you have.
Your next move
Here's a simple action checklist to get started:
- Run a 20-minute FTP test and set your training zones
- Calculate your current W/kg
- Add one threshold session and one VO2 max session to your weekly schedule
- Protect at least one Zone 2 ride per week
- Practise shifting earlier and finding your comfortable climbing cadence on your next hill
- Save your target climb routes and check your Tailwind GPS Strava wind scores before scheduling your key sessions
Open Tailwind GPS, add your climbing routes, and check which departure hour gives you the best Tailwind Score for your next threshold or VO2 session. Training hard is necessary. Training at the right time, on the right route, in conditions that actually measure your fitness, that's what separates consistent progress from spinning your wheels.
Schedule key sessions
Save your climbing routes and find the departure hour with the fairest conditions.
Related posts
How to Build Endurance Without Overtraining
Learn how to build cycling endurance without overtraining using a practical load, recovery, and adjustment system. Includes Zone 2 tips, warning signs, and weekly templates.
·10 min read
How to ride faster without getting fitter: a quick-wins checklist
Ride faster on the same fitness with proven aero, cadence, drafting, and pacing techniques. Includes a pre-ride safety checklist and a real-ride example.
·9 min read

How to Fuel Before, During & After Long Rides
Build a simple, evidence-based nutrition plan for long bike rides. Learn exact carb, sodium and protein targets to fuel performance and recover faster.
·8 min read