How to train effectively in headwinds
A headwind doesn't just make a ride harder. It changes the session entirely. Speed drops, your power-to-speed relationship shifts, and if you're not careful, the effort you thought was threshold becomes a blown-up mess three kilometres in.
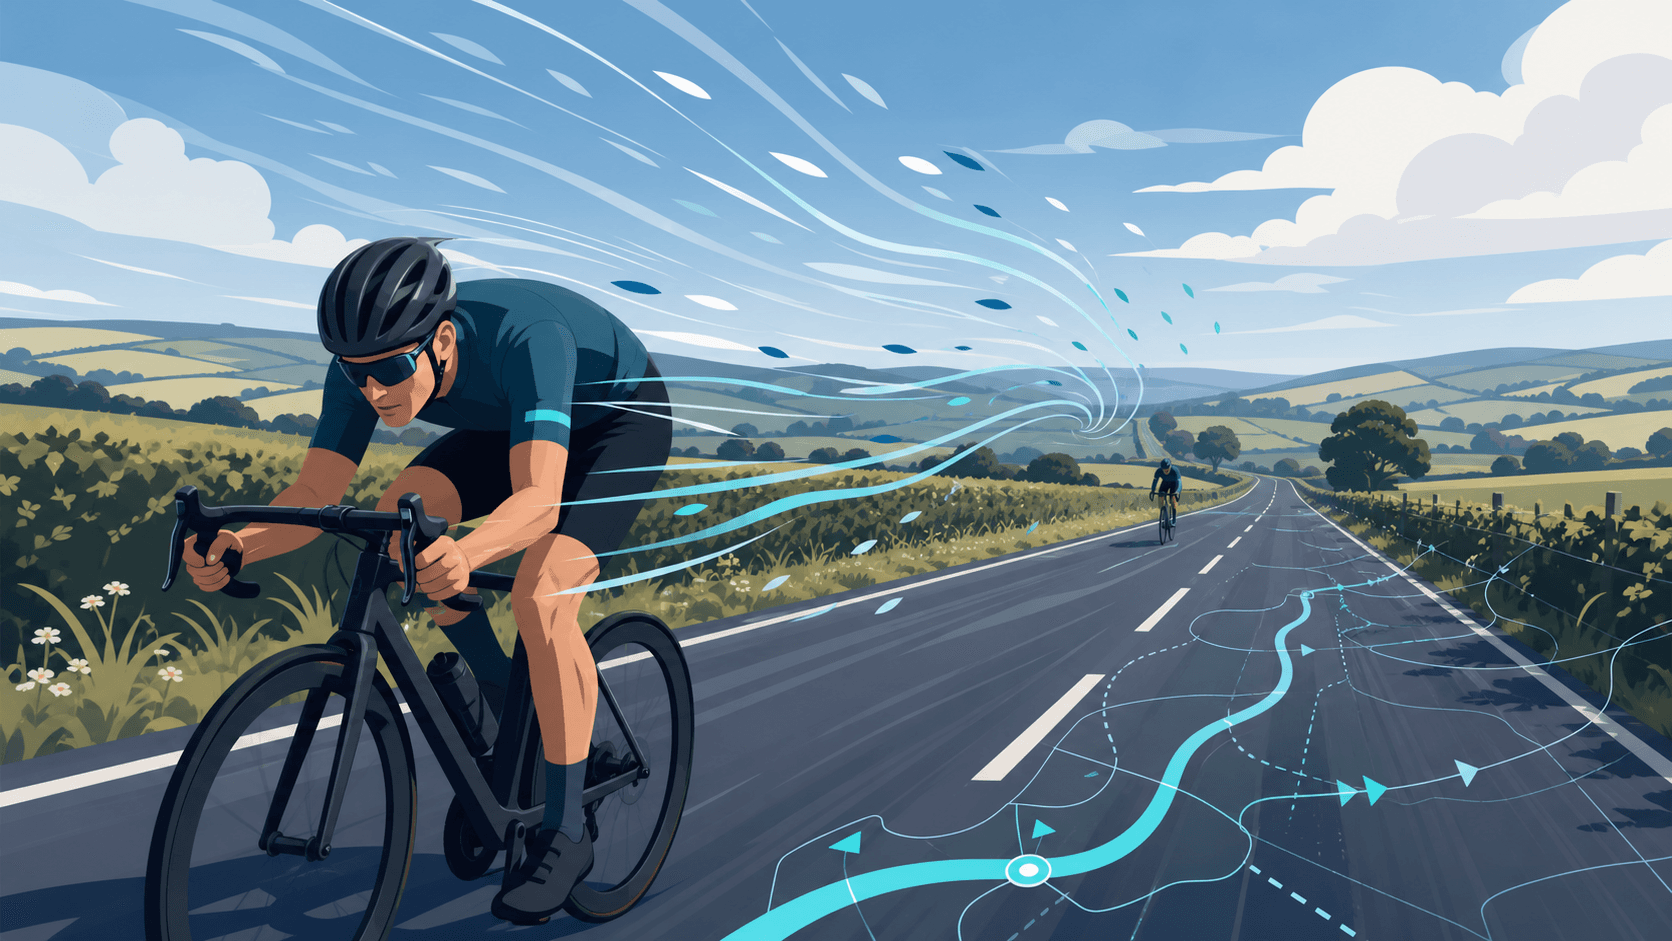
A headwind doesn't just make a ride harder. It changes the session entirely. Speed drops, your power-to-speed relationship shifts, and if you're not careful, the effort you thought was threshold becomes a blown-up mess three kilometres in.
For time-triallists, crit racers, and club riders who train with structure, that's actually an opportunity. Headwind kilometres, executed with the right intensity discipline, build specific strength that smooth tailwind loops simply can't replicate. The problem isn't the wind. It's not knowing how to pace into it, or not knowing which part of your route will be fighting it.
This guide gives you a practical playbook: how to measure effort correctly when the road slows you down, how to stay aero without losing power, session templates you can use straight away, and how to schedule headwind sessions on your actual routes rather than guessing on the day.
What a headwind actually does to your ride
Aerodynamic drag scales with the square of your speed relative to the air. In plain terms, a 20 km/h headwind doesn't just add a flat penalty; it compounds. Holding 30 km/h into a 20 km/h headwind demands significantly more power than holding 30 km/h in still air, and you slow down noticeably even at the same output. Yellow Jersey's modelling shows that for every 5 km/h of additional headwind a cyclist loses around 10% of their speed, and that loss is asymmetric. The time you gain on a tailwind return rarely cancels out what you lose going into the wind.
The coaching principle that follows is simple: speed will vary, but watts and rhythm stay controlled. If your target metric is speed, wind will wreck your session. Switch your primary reference to power output or Rating of Perceived Exertion (RPE), and the session becomes manageable and repeatable regardless of conditions.
British Cycling's RPE framework uses a 1–10 scale: roughly, zone 2 endurance sits around RPE 3–4, threshold work around 6–7, and VO2 max efforts at 8–9. Those reference points don't change when the wind picks up. Your speed does. That distinction is what separates riders who train effectively in headwinds from those who just suffer through them.
Your pacing rule: smooth watts, no surging
The most common mistake in a headwind interval is surging. A gust slows you; instinct says push harder to compensate. Watts spike. A few minutes later, fatigue sets in ahead of schedule and the rest of the interval falls apart.
The fix is simple but requires practice. Set your head unit to display 3-second average power rather than instantaneous power. Strava's own guidance on power-meter pacing (September 2023) makes exactly this point: instantaneous power jumps around too much, particularly in gusty conditions, and a short rolling average gives you a number you can actually act on.
When a gust hits and you slow down, let the speed drop. Hold the watts. If the interval target is 250 W, stay at 250 W. Don't chase 28 km/h. The session is defined by the physiological stimulus, not the speed readout.
RPE works as a cross-check, especially during longer blocks. If your RPE creeps above your target band despite the power looking right, back off slightly. Wind fatigue is real: sustained exposure to gusts and constant micro-corrections in the saddle accumulate in ways that a smooth indoor session doesn't.
Power-first vs RPE-first: choosing your approach
There are two reliable ways to execute a headwind interval session, and most riders benefit from knowing both.
Power-first means you set a watt target (typically a percentage of FTP or a specific training zone) and hold it regardless of speed. Adjust cadence and gear selection to stay smooth. If 250 W requires dropping two gears and spinning at 95 rpm instead of grinding at 75 rpm, do that. Smooth pedal stroke at the right output beats big-gear heroics every time.
RPE-first is the better choice when gusts are particularly chaotic, when your power meter is behaving erratically, or when accumulated fatigue means your power and perceived effort have drifted apart. Lock into an RPE band, say, RPE 6–7 for threshold work, and use breathing as a real-time gauge. At threshold, you can still speak in short sentences but wouldn't want to hold a conversation. Above RPE 8, single words only. Chris Carmichael's coaching at TrainRight reinforces this: in windy conditions, effort-based pacing often produces more consistent physiological outcomes than chasing a watt number that fluctuates with every gust.
For most riders, power-first with RPE as a cross-check is the default. Flip to RPE-first when conditions become genuinely chaotic.
Positioning: stay aerodynamic without sacrificing power
Reducing your frontal area is free speed, and in a headwind, it's especially valuable. The practical cues are straightforward:
- Get onto the drops or aerobars where the road surface and traffic allow. In a sustained headwind block, riding on the hoods is leaving watts on the table.
- Keep elbows slightly bent and tucked. A rigid, locked-out arm position catches more wind and transmits road vibration directly to your upper body.
- Drop your chin towards the stem without craning your neck uncomfortably. A lower head position reduces frontal area measurably.
- Avoid the temptation to push a massive gear to 'feel strong'. Big gears at low cadence in a headwind increases force-per-pedal-stroke, accelerates muscular fatigue, and makes your pedal stroke ragged. A higher cadence (85–95 rpm) in a smaller gear keeps the stroke fluid and preserves power output for longer.
Crosswind conditions require a different priority: stability first. Don't force an aggressive low position on an exposed road with unpredictable gusts. Practise echelon positioning in low-stakes group rides before you rely on it. A momentary wobble into a training partner or a car is not a training adaptation.
Three headwind session templates
These are plug-and-play structures. Adapt the duration and targets to your current fitness.
Template A: headwind intervals
Best for: VO2 max development, threshold sharpening, crit preparation.
- Warm up for 15–20 minutes at RPE 3–4, gradually building.
- Ride into the prevailing headwind for your interval block.
- Complete 3–5 repetitions of 3–8 minutes at 90–105% FTP (RPE 7–8). Recover by turning around and riding easy with the tailwind at your back for an equal or slightly longer duration.
- Cool down for 10–15 minutes.
The recovery leg is almost free: a tailwind recovery means your legs flush without any significant cardiovascular cost. This is one of the reasons headwind training days can actually be more structured than indoor sessions.
Template B: sustained tempo or threshold block
Best for: time-trial preparation, long sportive riding, endurance base with quality.
- Warm up for 20 minutes.
- Complete 1–2 blocks of 10–20 minutes at 85–95% FTP (RPE 6–7). The strict rule: no surging. If a gust slows you, hold the watts and accept the speed drop.
- 5-minute easy spin between blocks.
- Cool down.
This template works well on a straight exposed road or a long out-and-back. The 'no surging' rule is the entire point: you're training power smoothness under variable resistance, which directly translates to better time-trial pacing.
Template C: group headwind rotation
Best for: club riders, crit teams, riders developing group-riding strength.
- Agree on a pace band before the ride (e.g., 230–260 W or RPE 6–7 at the front).
- Rotate short front pulls of 30–90 seconds into the headwind, don't let anyone go deep into the red on the front.
- When your pull is done, move to the back immediately and recover.
- Discourage attacks or accelerations during the headwind section. Steady rotation, consistent output.
The discipline here matters. One rider surging on the front breaks the rotation and costs the group more energy than any short-term speed gain is worth. Use a planned route with known wind exposure so everyone knows when the headwind section starts and ends.
How to schedule headwind sessions on your actual routes
This is where most training guides stop short. They tell you to pace by power and get in the drops, but they can't tell you which part of your specific Tuesday loop will be a headwind, at what time, or how long it will last.
A standard weather app gives you a single forecast pin. That's fine for deciding whether to pack a rain jacket, but it tells you nothing about whether your outbound leg will be a 25 km/h headwind or a tailwind, or whether that changes if you leave an hour later.
Tailwind GPS was built specifically for this problem. The platform analyses wind conditions along every segment of your route, hour by hour, factoring in the direction each segment faces relative to the forecast wind. The result is a Tailwind Score from 0 to 100 for each route at each departure time, along with a breakdown of the headwind, tailwind, and crosswind percentage across the full distance.
For headwind training, the workflow looks like this:
- Connect your Strava account or upload a GPX file. Your regular routes appear automatically. You can also draw new routes directly on the map using snap-to-roads or freehand mode.
- Open the route and scroll through departure times. You're looking for a low Tailwind Score (indicating significant headwind exposure) on the outbound leg, specifically during the segment where you want to run your intervals.
- Check the headwind percentage breakdown. A route showing 60–70% headwind on the outbound is a productive interval target. A score showing mostly crosswind needs a different session design.
- Confirm rain timing. If precipitation is forecast during your window, Tailwind GPS flags it so you can decide whether to adjust start time or modify the session.
- Set an alert. Subscribers can set score-based notifications so that when a specific route hits a headwind-suitable score within your preferred riding window, you get an email rather than having to check manually.
The free tier covers up to three saved routes with a 3-day forecast. Subscribers get up to 40 routes and a 14-day planning window for $2.99/month or $19.99/year, useful for scheduling a key headwind block session around a busy week or upcoming race.
Research published on PubMed examining pacing strategies during cycling time trials with simulated headwinds confirms that variable pacing in changing wind conditions produces suboptimal outcomes compared to steady-effort strategies. Knowing the wind profile of your route in advance is what makes a steady-effort strategy achievable.
Race-day and event-day execution checklist
Headwind conditions on race or event day follow the same principles, but the stakes are higher. Use this checklist:
Before you leave:
- Check the route-specific wind window and confirm which sections will be headwind. Don't rely on a general forecast.
- If the first section is exposed, plan to start slightly more conservatively than feels natural. You'll thank yourself in the final third.
- Confirm rain timing. Wet roads change your braking distance and cornering grip; adjust if needed.
During the ride:
- Stick to your power band or RPE target. Don't race the wind; race the wattage.
- Keep cadence targets in mind (85–95 rpm for most riders). If you find yourself grinding below 75 rpm, shift down.
- In cold or wet headwind conditions, eat and drink on schedule. Perceived effort in cold wind can mask dehydration, and suppressed appetite in the cold is common.
After the ride:
- Review your power file for smoothness. A volatile power trace with frequent spikes means you were chasing speed or reacting to gusts. A flatter trace means the discipline held.
- Note the actual headwind sections and compare them to the forecast. This calibration makes your next session more precise.
Safety and equipment: a short checklist
None of this requires fear-mongering, but a few practical points are worth stating clearly.
- Gusts: Keep your hands firmly on the bars, particularly on descents or when passing through gaps in hedges or buildings. Anticipate, don't react.
- Wet roads: If rain arrives during your session, reduce interval intensity. Cornering grip drops significantly on wet tarmac and a hard effort that leads to a low-speed corner mishap is not worth it. Tailwind GPS's rain alerts within your riding window help you anticipate this before you're already out.
- Tyres: Check pressure before gusty sessions. A slightly lower pressure (within recommended range) improves grip and reduces the chance of a deflection on road debris, more common when riding in a low aerodynamic position.
- Visibility: In low-light or rain conditions, run a rear light even during daylight. High-effort headwind sessions make it harder to hear approaching traffic.
FAQ
Should I chase speed into a headwind?
No. Speed in a headwind is a function of wind conditions, not your fitness or effort. Chasing speed leads to surging, which depletes glycogen faster and produces inconsistent training stress. Pace by power or RPE and let the speed number be whatever it is.
How do I know I'm going too hard in wind?
The clearest signal is breathing. At threshold (RPE 6–7), you can still produce short sentences but wouldn't hold a conversation. If you can't speak at all, you're above threshold. In gusty conditions, also watch your 3-second average power: if it's consistently 10–15% above your interval target, you're chasing gusts.
What intensity should I hold for a headwind interval?
For threshold development: 85–95% FTP, RPE 6–7. For VO2 max intervals: 95–110% FTP, RPE 8–9, with shorter durations (3–6 minutes). Always cross-reference the two: if power says 95% FTP but RPE feels like a 9, ease off, the wind and fatigue combined may be pushing you harder than the number suggests.
Can I train headwind strength without blowing up my next workout?
Yes, with two conditions. First, use the tailwind return as your recovery, it works exceptionally well for this. Second, keep the headwind session to the intensity prescribed in your training plan. Don't turn a tempo day into a near-maximum effort just because the conditions allow it. The wind-aware training workflow at Tailwind GPS is designed around exactly this: matching session type to wind conditions so hard days are hard and easy days stay easy.
Headwinds are one of the most consistent training stimuli available to outdoor cyclists. They're repeatable, they're free, and when you know where they'll be on your route and for how long, they become as programmable as any interval session on a turbo. The discipline is in the pacing. The planning is in knowing your route.
Find your next headwind session with Tailwind GPS training alerts, set a score threshold on your route and get notified when the right conditions arrive.
Related posts
How to Build Endurance Without Overtraining
Learn how to build cycling endurance without overtraining using a practical load, recovery, and adjustment system. Includes Zone 2 tips, warning signs, and weekly templates.
·10 min read
How to Improve Your Climbing
Climb faster on your road bike with structured FTP, threshold, and VO2 max training, plus smarter pacing, cadence, and route-specific wind planning.
·10 min read
How to ride faster without getting fitter: a quick-wins checklist
Ride faster on the same fitness with proven aero, cadence, drafting, and pacing techniques. Includes a pre-ride safety checklist and a real-ride example.
·9 min read