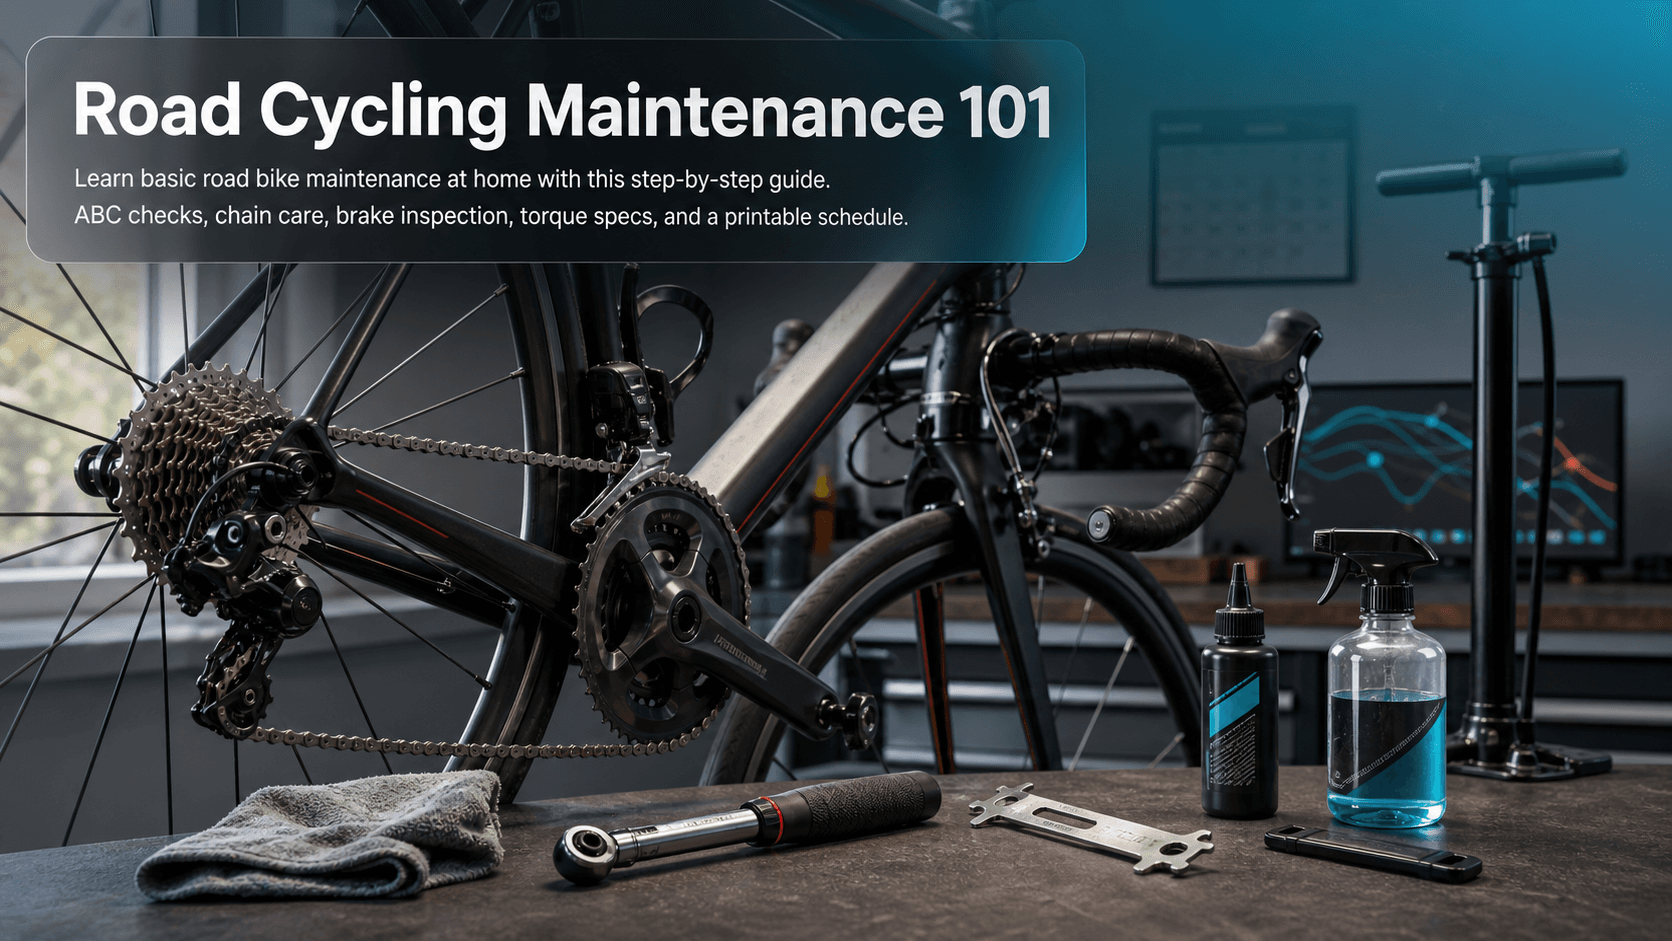
Road Cycling Maintenance 101
Learn basic road bike maintenance at home with this step-by-step guide. ABC checks, chain care, brake inspection, torque specs, and a printable schedule.
You've planned the perfect Saturday ride. The legs feel good, the forecast looks promising, and you're out the door on time. Then somewhere around the 20-kilometre mark, the chain starts skipping under load. Or you reach for the brakes on a descent and the lever feels softer than it should. Sound familiar?
Most of those mid-ride problems are preventable with 30 minutes at home the evening before. This guide covers everything you can safely do yourself, with a clear line between what's DIY-friendly and what genuinely needs a mechanic.
Who this is for: road cyclists who want to maintain a safe, reliable bike without a workshop degree. No prior mechanical experience needed beyond basic hand tools.
Time required: 2 minutes pre-ride (ABC check), 30 minutes weekly, 45–60 minutes monthly.
Tools needed: listed in the next section.
What you can (and can't) do at home
Keeping your road bike in good condition breaks down into four tiers:
- Before every ride (2 minutes): quick safety pass on air, brakes, and chain.
- Weekly (30 minutes): clean and lube the chain, inspect tyres, check key fasteners.
- Monthly (45–60 minutes): brake pad wear, shifting quality, drivetrain cleanliness, bearing check.
- Leave to a mechanic: hydraulic brake bleeding, bottom bracket or headset replacement, wheel truing beyond minor adjustments, internal cable routing.
The rule of thumb is simple. If it affects steering, braking, or structural integrity and you're not confident, book a shop visit. Everything else on this list is well within reach at home.
The at-home tool kit
You don't need a full workshop. Here's what actually matters:
Minimum kit:
- Floor pump with a pressure gauge (not a mini pump for home use)
- Multi-tool (4mm, 5mm, 6mm Allen keys cover most road bike bolts)
- Tyre levers (2–3 plastic ones)
- Spare inner tube and/or a patch kit
- Chain lubricant (wet lube for British weather; dry lube for summer)
- Clean rags and a stiff brush
- Degreaser (for periodic chain cleans)
Worth buying once:
- Torque wrench (5–10 Nm range covers stems, seatposts, and brake calipers)
- Chain wear indicator tool (the Park Tool CC-3.2 is a widely used go/no-go gauge that checks for 0.5% and 0.75% stretch)
- Disc brake cleaner spray (if you run hydraulic disc brakes)
- Chain cleaning device (speeds up deep cleans significantly)
Spend the money once on quality tools and they'll last years. A torque wrench in particular pays for itself the first time it stops you over-tightening a carbon seatpost.
Before every ride: the ABC quick check
The ABC pre-ride check framework, used by guides from REI to ROUVY, takes under two minutes and catches the issues most likely to end your ride early.
Air
Squeeze both tyres firmly. If either gives more than a few millimetres, it needs pumping before you go. For a precise reading, use your floor pump. Road bike tyres typically run between 80–130 PSI, but the correct range for your tyre is printed on the sidewall. Heavier riders and narrower tyres sit toward the upper end; wider tyres (28mm+) can run lower.
Brakes
Pull each lever firmly. It should feel solid and stop well before reaching the handlebar. Any sponginess, especially with hydraulic brakes, means stop and investigate before riding. Do a quick visual: check that pads are not visibly worn to the metal, and that nothing is rubbing the rotor or rim at rest.
Chain
Backpedal slowly and watch the chain move through the drivetrain. It should run quietly and smoothly. If it looks visibly black with gunk or feels dry when you run a rag along it, it needs attention before your next proper session. A quick shift through the gears confirms the indexing is still tracking correctly.
Those three checks take two minutes flat. Make them a habit and you'll rarely be surprised on the road.
Weekly routine: 30 minutes to a reliable bike
This is your core basic road bike maintenance routine. Do it once a week if you're riding regularly, or after every three or four rides if you ride less often.
Step 1: Check tyre pressure and inspect for damage
- Pump both tyres to the correct pressure for your weight and tyre width. Use the tyre sidewall markings as your guide.
- Run your fingers slowly around the full circumference of each tyre. Feel for cuts, embedded glass or grit, and any bulges in the casing.
- Check the tread wear indicator (a small dot or groove on many tyres). When it disappears, the tyre is due for replacement.
- Spin each wheel and watch it pass a fixed reference point (brake pad or chainstay). A significant wobble means a trip to the shop for truing.
Step 2: Clean and lubricate the chain
Chain care is the single highest-return maintenance task on a road bike. A dirty, dry, or worn chain accelerates wear on your cassette and chainrings, and those cost significantly more to replace.
When to wipe vs when to deep clean:
- After a dry ride: wipe the chain with a clean rag, apply a fresh coat of lube, wipe the excess off.
- After a wet or muddy ride, or every 160–320 km of outdoor riding (per ROUVY's maintenance guidance): do a proper clean.
How to clean and lube the chain at home:
- Shift to the small ring and smallest sprocket.
- Apply degreaser to the chain using a cloth or a chain cleaning device filled with solvent.
- If using a chain cleaning device, backpedal for at least 30 revolutions to work the solvent through the links (as described in Park Tool's chain cleaning guide).
- Wipe the chain thoroughly with a clean rag.
- Rinse with water if using a water-soluble degreaser and let the chain dry fully before lubing.
- Apply chain lube to the inner face of the chain (where it contacts the sprocket teeth), one drop per link, working around the whole chain.
- Backpedal slowly to work the lube into the rollers.
- Wipe the outside of the chain with a clean rag to remove any excess. Excess lube on the outside attracts dirt and creates the black gunk that causes wear.
Step 3: Check chain wear
Chains stretch gradually with use. A worn chain accelerates wear on the cassette and chainrings, so catching it early saves money.
The Park Tool CC-3.2 chain checker is a go/no-go gauge. Insert the 0.5% end into the chain: if it drops in, replace the chain soon. If the 0.75% end drops in, the chain is overdue and may have already affected the cassette.
If you don't have a gauge yet, a rough visual check: place a ruler against 12 full links. New chain = exactly 30.48 cm (12 inches). If it measures 30.7 cm or more, the chain is worn.
Step 4: Check key fasteners
Loose bolts on a road bike are a safety issue, not just an annoyance. Work through these quickly:
- Stem bolts (handlebar clamp and steerer clamp): these should be snug and evenly torqued. SRAM specifies 5 Nm for road brake caliper installation; stem bolts on most bikes run 4–6 Nm depending on the manufacturer. Check your frame and component manufacturer's documentation (Shimano's Dealer's Manual and SRAM's support articles both publish torque charts).
- Seatpost clamp: should hold the post firmly with no rotation or slip under load.
- Bottle cage bolts and accessory mounts: often overlooked; a dropped GPS computer mid-ride is avoidable.
If you don't have a torque wrench, at minimum check that nothing feels obviously loose. If you're running carbon components, a torque wrench is non-negotiable.
Monthly checks: brakes, shifting, and drivetrain depth
Brake inspection
Rim brakes: Look at the brake pads directly. Most have wear indicator grooves; when those disappear, the pads need replacing. Check that the pads are aligned to contact the rim braking surface cleanly, not the tyre or spilling below the rim edge.
Disc brakes: Brake pad wear is harder to see but equally important. According to Pauls Cycles' disc brake maintenance guide, brake pads typically last between 1,000 and 2,000 miles (1,600 to 3,200 km) depending on conditions. If the compound is worn to 1–1.5 mm or less, replace them. Check for rotor contamination (oil, fingerprints, spray lube residue) using a dedicated disc brake cleaner spray. A contaminated rotor causes squealing and reduced braking power.
For disc brake maintenance at home, pad inspection and rotor cleaning are safe tasks. Hydraulic brake bleeding is not, unless you've been trained. If the lever feels spongy or travel has increased, book a shop visit.
Shifting quality
Ride through all your gears. Shifts should be crisp and immediate. Slow or hesitant shifts usually mean cable stretch (on mechanical systems) or a minor barrel adjuster tweak. If you understand indexed shifting basics, a quarter-turn of the barrel adjuster at the derailleur or lever body is often all it takes.
If you're not confident, don't guess. Poor derailleur adjustments can cause the chain to drop off the cassette or into the wheel. A shop visit for a cable and indexing check costs very little.
Drivetrain cleanliness
Give the cassette and chainrings a close look. Healthy chainring teeth are symmetrical; worn teeth look hooked or shark-fin shaped. A visibly worn cassette has teeth that look thin and pointy rather than broad and flat. If you're seeing either of these signs, flag it for your next shop visit.
Bearing check
With the bike stationary, grab the handlebar and push it forward and back. Any click or movement in the headset means it needs attention. Spin the cranks: grinding or rough resistance points to a worn bottom bracket. Grab each wheel at 9 and 3 o'clock and try to wobble it laterally; any play in the hub needs a mechanic.
These checks take two minutes and can catch developing problems before they become expensive ones.
Seasonal maintenance: wet weather, grit, and storage
If you ride through a UK winter, your bike takes a hammering. Salt, grit, road spray, and persistent damp accelerate wear on everything.
Spring reset: At the start of the season (or after a winter of riding), give the bike a proper wash, remove and clean the chain, check chain wear, inspect brake pads, and look for any corrosion on cables. Winter riding often exposes frayed or corroded cable ends that are easier to catch in March than in June when you need the bike to perform.
Lube choice in wet conditions: Wet lube stays in place through rain and mud but attracts more grime than dry lube. In British conditions, wet lube from October to April makes sense for most riders. Switch to a lighter dry lube in summer if you're riding predominantly in dry conditions.
After wet rides: Don't leave the bike dirty. Even a quick wipe-down of the drivetrain and a fresh coat of lube after a rainy ride makes a significant difference to chain life over a season. Leaving grit-contaminated lube to work its way into chain rollers overnight accelerates wear faster than almost anything else.
Storage: If the bike is sitting unused for more than a week or two, hang it or store it indoors. A damp garage floor is a rust accelerator. If outdoor storage is unavoidable, a breathable bike cover keeps the worst of the moisture off.
Troubleshooting: common problems and first checks
Noisy drivetrain
A clicking, creaking, or grinding noise from the drivetrain is almost always one of three things: a dirty chain, the wrong lube for conditions, or a chain that needs replacing. Clean the chain first. If the noise persists after a full clean and re-lube, check chain wear. If wear is fine but the noise continues, the issue might be the cassette, chainring, or a bottom bracket starting to fail. At that point, see a mechanic.
Skipping gears under load
If the chain skips when you put power through the pedals, especially in a specific gear, the chain or cassette is likely worn. Measure chain wear first. If the chain is at or past the 0.75% mark, replace it and see if the skipping resolves. If a new chain still skips on certain sprockets, those sprockets are worn too and need replacing alongside it.
Brake rub
A rhythmic rubbing sound from a disc brake usually means the rotor is slightly out of alignment with the caliper. First check: spin the wheel and watch the gap between rotor and pad on both sides. If one side is consistently rubbing, loosen the caliper mounting bolts slightly, pull the brake lever to centre the caliper against the rotor, and re-tighten the bolts while holding the lever. This fixes the majority of disc brake rub cases without any special tools.
For rim brake rub, loosen the caliper fixing bolt slightly and recentre using the adjustment nut at the back of the caliper.
Soft or spongy brakes
Stop riding. This applies especially to hydraulic disc brakes. A lever that reaches further than normal or feels mushy under pressure usually means air in the hydraulic line. That's a bleed job. Don't attempt this without the right fluid, syringes, and training.
When to call a mechanic
Book a shop visit if you encounter:
- Any brake lever that feels soft or travels to the bar
- Wheel wobble or spoke damage
- A creak or play in the headset or bottom bracket
- Visible frame cracks or damage
- A derailleur that won't index properly after basic adjustment
- Any hydraulic system issue
Road bike maintenance schedule (screenshot this)
| Task | Frequency | Time | Tools needed |
|---|---|---|---|
| ABC check (air, brakes, chain) | Before every ride | 2 min | Floor pump |
| Tyre pressure + visual inspection | Weekly | 5 min | Floor pump |
| Chain wipe and re-lube | Weekly (dry rides) | 5 min | Lube, rag |
| Chain deep clean | Every 160–320 km or after wet rides | 15 min | Degreaser, brush, lube |
| Chain wear check | Monthly | 2 min | Chain wear gauge |
| Key fastener check | Weekly | 5 min | Multi-tool, torque wrench |
| Brake pad inspection | Monthly | 5 min | None (visual) |
| Disc rotor clean | Monthly or after contamination | 5 min | Disc brake cleaner |
| Shifting quality check | Monthly | 5 min | None (ride test) |
| Drivetrain deep clean | Monthly | 20 min | Degreaser, brushes |
| Bearing play check | Monthly | 2 min | None (feel test) |
| Full seasonal reset | Spring and autumn | 60 min | Full kit |
Frequently asked questions
How often should I lube my chain?
After every ride in wet conditions, and after every two or three rides in dry conditions. As a distance guide, every 160–320 km is a useful benchmark for outdoor riders. If the chain sounds dry or looks dull, don't wait.
How do I tell if my chain is worn?
Use a chain wear indicator tool. The Park Tool CC-3.2 uses a go/no-go system: the 0.5% marker means replace soon; the 0.75% marker means it's overdue. Letting a chain reach 0.75% stretch risks wearing out your cassette too, turning a £20 chain replacement into a £60+ drivetrain job.
How do I clean my chain properly at home?
Apply degreaser using a cloth or chain cleaning device, backpedal for at least 30 revolutions to work the solvent through the links, wipe thoroughly, let the chain dry, then apply fresh lube and wipe off the excess. See the full process in the weekly routine section above.
What tyre pressure should I run on a road bike?
Check the sidewall of your tyre. Most road tyres show a recommended range (often 80–130 PSI for 23–25mm tyres, lower for 28mm and above). Heavier riders sit toward the upper end of the range; lighter riders toward the lower. Tyre pressure also depends on road surface: lower pressures on rough roads reduce rolling resistance and improve comfort.
When should I replace brake pads or rotors?
Rim brake pads: when the wear grooves disappear or the compound is worn near flush with the metal backing. Disc brake pads: when the friction material is 1–1.5 mm or less (roughly 1,000–2,000 miles of use depending on conditions, according to Pauls Cycles). Rotors: when worn below the minimum thickness marked on the rotor, or if warped or significantly scored.
Is WD-40 a suitable chain lubricant?
No. WD-40 is a water displacer and light penetrating spray, not a chain lubricant. It can dislodge an existing lube film and leave the chain temporarily protected but functionally dry after a short ride. Use a dedicated bicycle chain lube: wet lube in damp conditions, dry lube in dry ones.
A well-maintained bike is simply more enjoyable to ride. You get consistent braking, smooth gear changes, and you avoid the kind of mechanical problems that cut rides short or cost a lot to fix. Thirty minutes a week covers the vast majority of what your road bike needs.
Once the bike is dialled in, the next variable is conditions. If you're planning a big club ride or a key training session, Tailwind GPS for club rides can help you pick the best route and departure time based on the actual wind forecast along your route, not just a generic local weather reading. When both the bike and the conditions line up, that's when rides get memorable.
For days when you want to work harder, the platform also surfaces headwind training opportunities so you can build fitness with purpose rather than just suffering by accident. And if you're choosing between route planners, the best route planners for cyclists compared breaks down where each tool fits into a serious rider's toolkit.
Plan your big rides
Once the bike is dialled in, pick the best departure window for your key sessions.
Related posts

Introducing Ride Huddles: a simple way to choose your next group ride
Ride Huddle is a simple way for groups to choose a route together. Create a Huddle, add your routes, share one link, and let everyone vote — free, with no account required.
·2 min read

How to navigate a cycling route without getting lost
Stay on the line with in-browser turn-by-turn: voice prompts, navigate-to-start, and rerouting. Tailwind GPS is the phone navigation — export GPX only for a head unit.
·8 min read

How to plan a cycling route and navigate it on your phone
Plan a cycling route on your phone, pick the best hour, then start in-browser turn-by-turn. Tailwind GPS includes voice prompts, navigate-to-start, and rerouting.
·6 min read