Draw your own cycling route in minutes
Most cyclists have been there: you find a suggested route online, load it onto your Garmin or Wahoo, and ride it, only to realise halfway round that the headwind bashing you into the ground for 30 km was entirely predictable. The route wasn't the problem. The timing was. And the tool you used ...
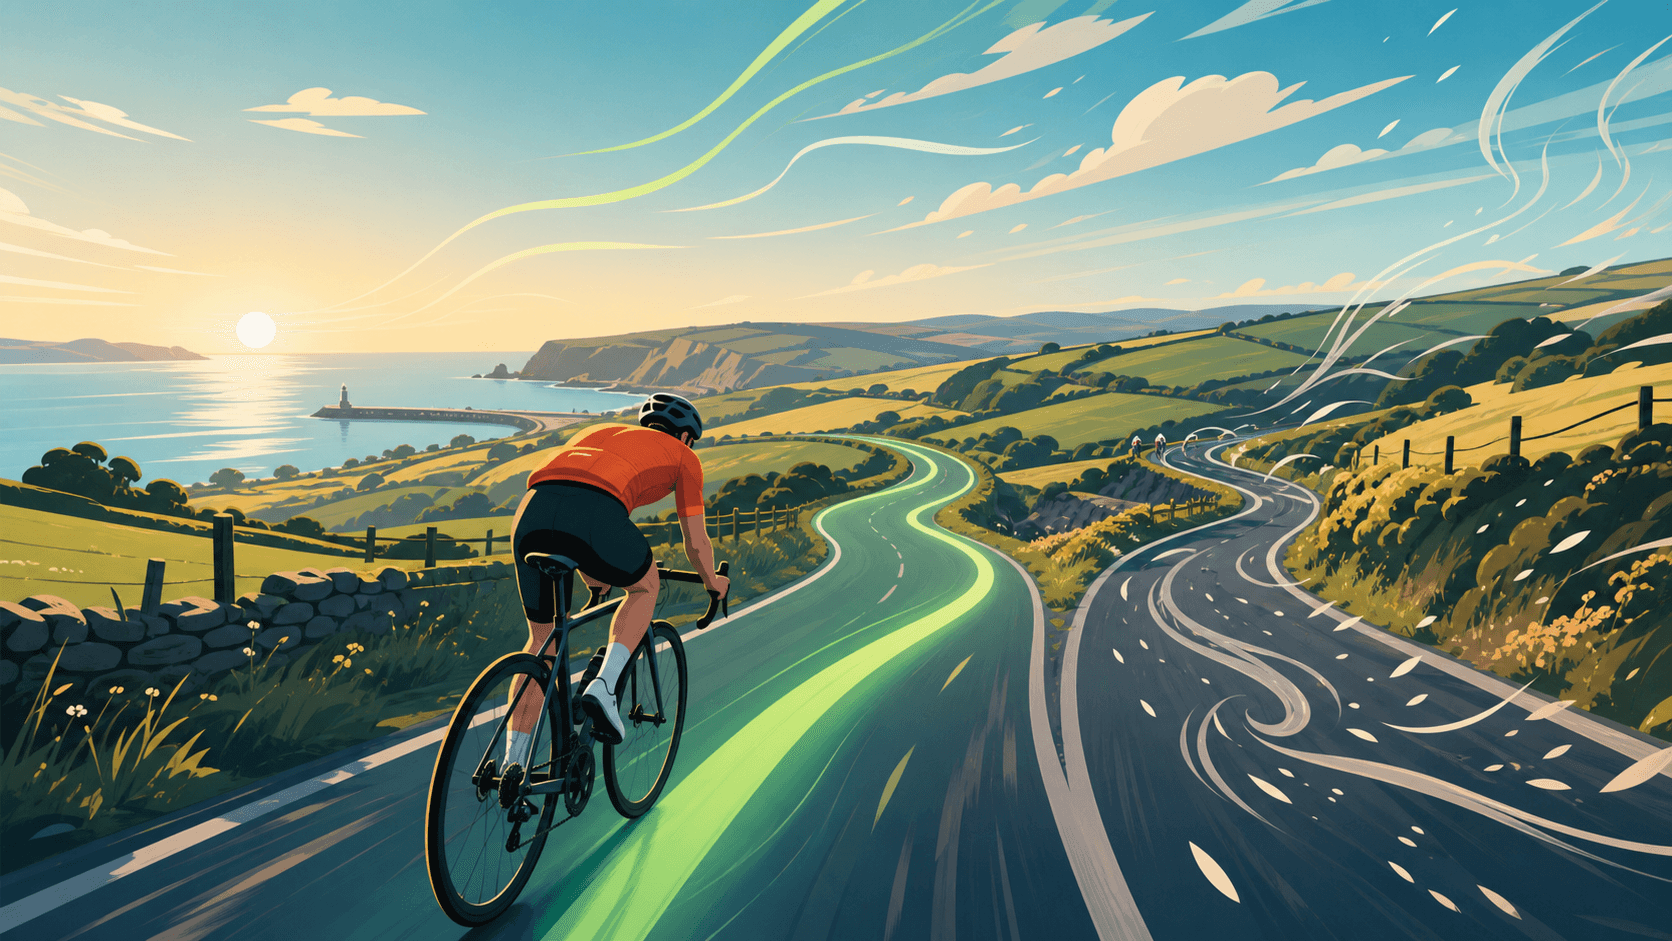
Most cyclists have been there: you find a suggested route online, load it onto your Garmin or Wahoo, and ride it, only to realise halfway round that the headwind bashing you into the ground for 30 km was entirely predictable. The route wasn't the problem. The timing was. And the tool you used to plan it had no idea about wind.
This guide shows you how to draw your own cycling route on a map from scratch using the Tailwind GPS route builder, and what to do next. Because drawing the line is only half the job. The other half is knowing when to ride it.
What you'll have by the end: a custom cycling route drawn on the map, saved, and ready to export as a GPX to your head unit or share with riding partners, plus an hourly Tailwind Score showing the best time to roll out.
Difficulty: Beginner to intermediate. No technical knowledge required.
Time: 5–10 minutes for a typical route.
What you need: A phone, tablet, or desktop browser. No app download.
The full workflow at a glance
Before the detail, here's the shape of the process:
Create route → Place waypoints (Snap to roads or Freehand) → Refine → Save → Get your Tailwind Score → Share or export GPX
Each step below covers one stage in that chain.
Why drawing your own route matters
Generic route suggestions from Strava, Komoot, or a club WhatsApp group are built around roads and geography. They don't account for the wind you'll face on the exposed drag out to the reservoir, or the fact that leaving at 9am versus 11am this Saturday is the difference between a tailwind home and a slog.
When you draw your own route in Tailwind GPS, something different happens. The moment you save it, the route gets analysed kilometre by kilometre against hourly wind forecasts. Every departure hour gets a Tailwind Score (0–100): a single number reflecting how much of the ride will be tailwind versus headwind, weighted to your pace. You're not interpreting wind arrows or pressure charts. You get a number, a best departure time, and a reason to head out with confidence.
That's the distinction worth keeping in mind: route drawing creates the geometry (the line on the map). Route scoring is what Tailwind GPS does with that line afterwards. Both matter. This guide covers both.
Before you start: three decisions that shape the result
Decision 1: how will you create the route?
Tailwind GPS gives you three starting points. You can draw from scratch directly on the map (this guide's main focus), upload a GPX file you already have from another app, or connect Strava and import your existing routes automatically. Connecting Strava takes about 30 seconds and means your regular loops appear ready to score, no rebuilding needed. That said, you don't need Strava at all to draw a route. Wind scores for your Strava routes covers the Strava workflow in more detail if that's the route you prefer.
Decision 2: Snap to roads or Freehand?
Snap to roads follows the mapped road and path network automatically as you place waypoints. Freehand draws a straight line between points regardless of what's underneath. Most routes use both: snap for the bulk of the ride, freehand for short gaps, bridleways, underpasses or paths that aren't properly mapped as cycling ways. More on when to use each in Steps 2 and 3.
Decision 3: what will the GPX be used for?
If you're loading the file onto a Garmin, Wahoo, or another head unit, it's worth knowing whether your device prefers a GPX track (a sequence of breadcrumb coordinates) or a GPX route (named waypoints a device can recalculate). Garmin's own support pages distinguish these as different navigation approaches. For following a specific drawn line, a track file is usually what you want. The GPX export section below covers this.
Step 1: open the route builder and place your first point
Head to tailwindgps.com and open the map. Sign up free if you haven't already, no card required, and the free tier covers up to 3 saved routes with a 3-day forecast. From the map view, select the option to create a new route.
Zoom in to your starting location before you place anything. The more zoomed in you are when you drop your first waypoint, the cleaner the snapped legs will look. Click or tap on the map at your ride's start point, a waypoint appears. Now click your second point along the route you want to ride, and the builder draws the first leg between them.
Keep placing waypoints along the route. Each click adds a new control point and a new leg. You're building the route in segments, not drawing one long freehand line across the screen.
Tip: place waypoints at junctions and key turns rather than every 200 metres. The snapping algorithm handles road geometry between your points. Too many waypoints in a straight section can cause the route to jump or double back if points are slightly misaligned.
Step 2: use Snap to roads for the easy parts
Snap to roads is the default mode and handles the majority of most cycling routes well. When you click a new point, the builder traces cycling-appropriate roads or paths between it and the previous waypoint.
This works best on mapped tarmac roads, recognised cycleways, canal towpaths, and gravel tracks where road data is present. On well-mapped UK road networks, you'll rarely need to intervene.
If a snapped leg follows the wrong road, a common issue at junctions where two plausible routes exist, don't redraw from scratch. Add an intermediate waypoint on the correct road between the two existing points. The builder re-snaps each leg individually, so a single extra point is usually enough to force the route onto the right path.
After placing every three or four waypoints, zoom out slightly and confirm the overall shape looks right. It's faster to catch a wrong snap early than to unpick it after placing 20 more points further along.
Step 3: switch to Freehand when the route needs it
Snap to roads can only follow what's mapped in the underlying data. Paths through parks, bridleways without cycling designations, the connector between a cycleway and the road after an underpass, a field crossing on a gravel ride, these are exactly where snapping breaks down and sends your route on a detour.
For these sections, switch to Freehand mode. In Freehand, the builder draws a straight line directly between your placed points, ignoring the road network entirely. Place a waypoint at the start of the unmapped section, switch to Freehand, click at the end of the section, then switch back to Snap to roads for the rest of the route.
Keep freehand segments short. A long freehand leg across several kilometres can look misleading on a head unit because the device sees a straight track point rather than a described path. Use Freehand as a connector, not a substitute for the snapping workflow.
Off-road and gravel riders will naturally use Freehand more than road cyclists. The two modes complement each other: snap for the mapped network, freehand for the rest. This combination is the same basic workflow you'd find in tools like Ride with GPS (which describes snap-to-road placement as clicking "along your desired path") or Komoot (which has its own "Follow ways" toggle that disables snapping for off-grid sections). The difference with Tailwind GPS is that the resulting route feeds directly into wind-aware scoring rather than sitting as an inert line.
Step 4: refine the route before saving
Once you've placed all your waypoints, take two minutes to review the full line. Zoom out to see the whole route, then zoom in to check trickier sections.
Common issues to look for:
- Zig-zags at junctions. A waypoint dropped on the wrong side of a junction forces the snap to loop back. Move the waypoint 50–100 metres and re-snap.
- Unintentional loops. If a snapped leg goes around a roundabout twice or doubles back, add a waypoint on the correct exit.
- Route jumping. If you move an existing waypoint and the neighbouring legs re-snap unexpectedly, check whether the moved point is now closer to a different road than intended.
- Self-intersections. These look fine visually but can confuse navigation devices. Find the crossing and adjust the nearest waypoint to eliminate the overlap.
The fix is almost always the same: adjust or replace the nearest waypoint rather than redrawing the surrounding section. Each leg snaps independently, so a precise local fix is usually sufficient.
Step 5: save the route and see your Tailwind Score
Once you're happy with the line, save the route. The saved route is immediately scored against the hourly wind forecast. Every hour of the day receives a Tailwind Score. Scores between 80 and 100 mean predominantly favourable conditions across most of the ride. Scores in the 20s signal a tough slog. The recommended departure time surfaces automatically.
The scoring is personalised to your pace. A faster rider reaches the far side of a loop sooner, so the wind they face at any given point differs from a rider at club-run pace. Tailwind GPS models your expected position on the route at each point in time, using your Strava activity data or a manually set speed. The result is a forecast built for how you actually ride, not for an average.
For subscribers, the planning window extends to 14 days, which is the useful range for planning sportives, training blocks, or weekend rides in advance. Free users get 3 days and 3 routes, enough to get started and see whether the scoring changes how you think about ride timing. Subscribers pay $2.99/month or $19.99/year for up to 40 routes and the full 14-day window.
For more on how the scoring works across different apps, the cycling apps compared by forecast article runs through how Tailwind GPS sits against the alternatives.
Step 6: share the route and export a GPX
From the route view, you'll find two options: share and download.
Sharing: the share link is time-specific. Send it to a riding partner and they'll see the route alongside its Tailwind Score for the departure time you have in mind. They can check other hours, view the breakdown, and download the GPX themselves from the link. Tailwind GPS doesn't gatekeep exports: the stated position is "We support uploading and downloading all GPX files. We don't gatekeep."
Downloading: click the Download GPX button from your route view. The file downloads immediately, no subscription required for the download itself. Load it onto your Garmin or Wahoo using the manufacturer's standard process (USB drag-and-drop, Garmin Express, or the Wahoo app, depending on your device).
For club rides and group route sharing, the share link approach is particularly useful because everyone in the group gets the scored version rather than just a naked GPX.
Troubleshooting: why your drawn route might not behave as expected
The snapped route takes the wrong road at a junction. Add a waypoint on the correct road between the two surrounding points. The builder re-snaps each leg separately, so you don't need to touch anything further away.
Snapping consistently fails on a particular section. The path likely isn't in the underlying map data as a cycling-appropriate way. Switch to Freehand for that segment and reconnect to Snap to roads once you're back on a mapped surface.
The route looks fine in the builder but odd on my head unit. Check whether your device expects a GPX track or GPX route format. If the device is trying to recalculate navigation based on waypoints rather than following the drawn line, the track format usually gives you the exact line you drew. See the section below.
I moved a waypoint and the legs around it jumped unexpectedly. The snapping re-evaluates from the moved point outwards. If the new position is ambiguous (near two roads), place a second clarifying waypoint close by to anchor the correct road.
The exported route file seems shorter or different from what I drew. Make sure you're downloading from the finalised, saved version of the route rather than an in-progress draft. Save the route first, then download.
GPX files: what to export for cycling navigation
GPX is the standard format for sharing and following cycling routes, Cycling UK describes it as the go-to for loading routes onto devices and apps. But two types of GPX file exist, and they behave differently on devices.
GPX track: a sequence of timestamped or ordered coordinate points (breadcrumbs). The device follows the line exactly as drawn. This is what you want when you've spent time drawing a specific route and need the device to reproduce it faithfully.
GPX route: a set of named waypoints that a navigation device uses as targets to route between. The device may recalculate the path between waypoints using its own routing engine, which can differ from your drawn line.
For most Garmin and Wahoo users following a specific drawn cycling route, a GPX track is the safer choice. Garmin's support documentation distinguishes routes from tracks specifically on the basis that tracks are breadcrumb paths while routes are recalculable waypoint sequences.
If your device asks for a specific format, check its manual. The general rule: if you want the device to follow your exact drawn line, use the track. If you want the device to route you towards destinations and allow deviations, use a route-format GPX.
FAQ
Can I draw an off-road route? Yes. Use Snap to roads for mapped sections and switch to Freehand for unmapped paths, bridleways, or field crossings. The two modes work together in a single route.
How do I export a GPX from Tailwind GPS? Open your saved route, then click the Download GPX button. The file downloads immediately. Tailwind GPS doesn't restrict GPX downloads based on subscription tier.
Do I need to connect Strava to draw my own route? No. You can draw from scratch without connecting Strava. Strava is useful if you want to import existing routes automatically or personalise your Tailwind Score to your actual pace data, but it's entirely optional.
What's the difference between Snap to roads and Freehand? Snap to roads traces the nearest cycling-appropriate road or path between your waypoints automatically. Freehand draws a straight line between points regardless of the road network. Use Snap to roads for mapped roads and paths, Freehand for gaps, off-grid connectors, or sections that aren't in the map data.
Why does my route look different after I save it? The visual rendering can shift slightly after saving if the builder applies a final smoothing pass to the snapped legs. If the route looks significantly different, check whether any waypoints are sitting on ambiguous road junctions and add clarifying points to anchor the correct path.
Can I share my route with a specific departure time? Yes. When you share a route from Tailwind GPS, the link includes the Tailwind Score context for the selected time. Recipients can view the score and check other departure hours before deciding when to ride.
Can friends download my GPX? Yes. Anyone you share a route link with can download the GPX directly from the shared view. No account or subscription is required to download from a shared link.
Draw your first route free
Most route planners stop at the line on the map. Tailwind GPS starts there. Draw the route, save it, and within seconds you have an hourly breakdown of when conditions will be in your favour, right down to the departure hour that turns a hard ride into your best one of the month.
The free tier includes route drawing, GPX import and export, and a 3-day wind forecast with no card required. If you ride with a head unit, connect Strava, or want to plan further ahead, the wind-aware route planning tools are all waiting.
Open the map and draw your first route at tailwindgps.com
Related posts

Introducing Ride Huddles: a simple way to choose your next group ride
Ride Huddle is a simple way for groups to choose a route together. Create a Huddle, add your routes, share one link, and let everyone vote — free, with no account required.
·2 min read
How to navigate a cycling route without getting lost
Stay on the line with in-browser turn-by-turn: voice prompts, navigate-to-start, and rerouting. Tailwind GPS is the phone navigation — export GPX only for a head unit.
·8 min read
How to plan a cycling route and navigate it on your phone
Plan a cycling route on your phone, pick the best hour, then start in-browser turn-by-turn. Tailwind GPS includes voice prompts, navigate-to-start, and rerouting.
·6 min read