Must-Have Gear When Getting Into Road Cycling
New to road cycling? Here are the essential items you actually need to start riding safely and comfortably in the UK, plus what to skip until later.
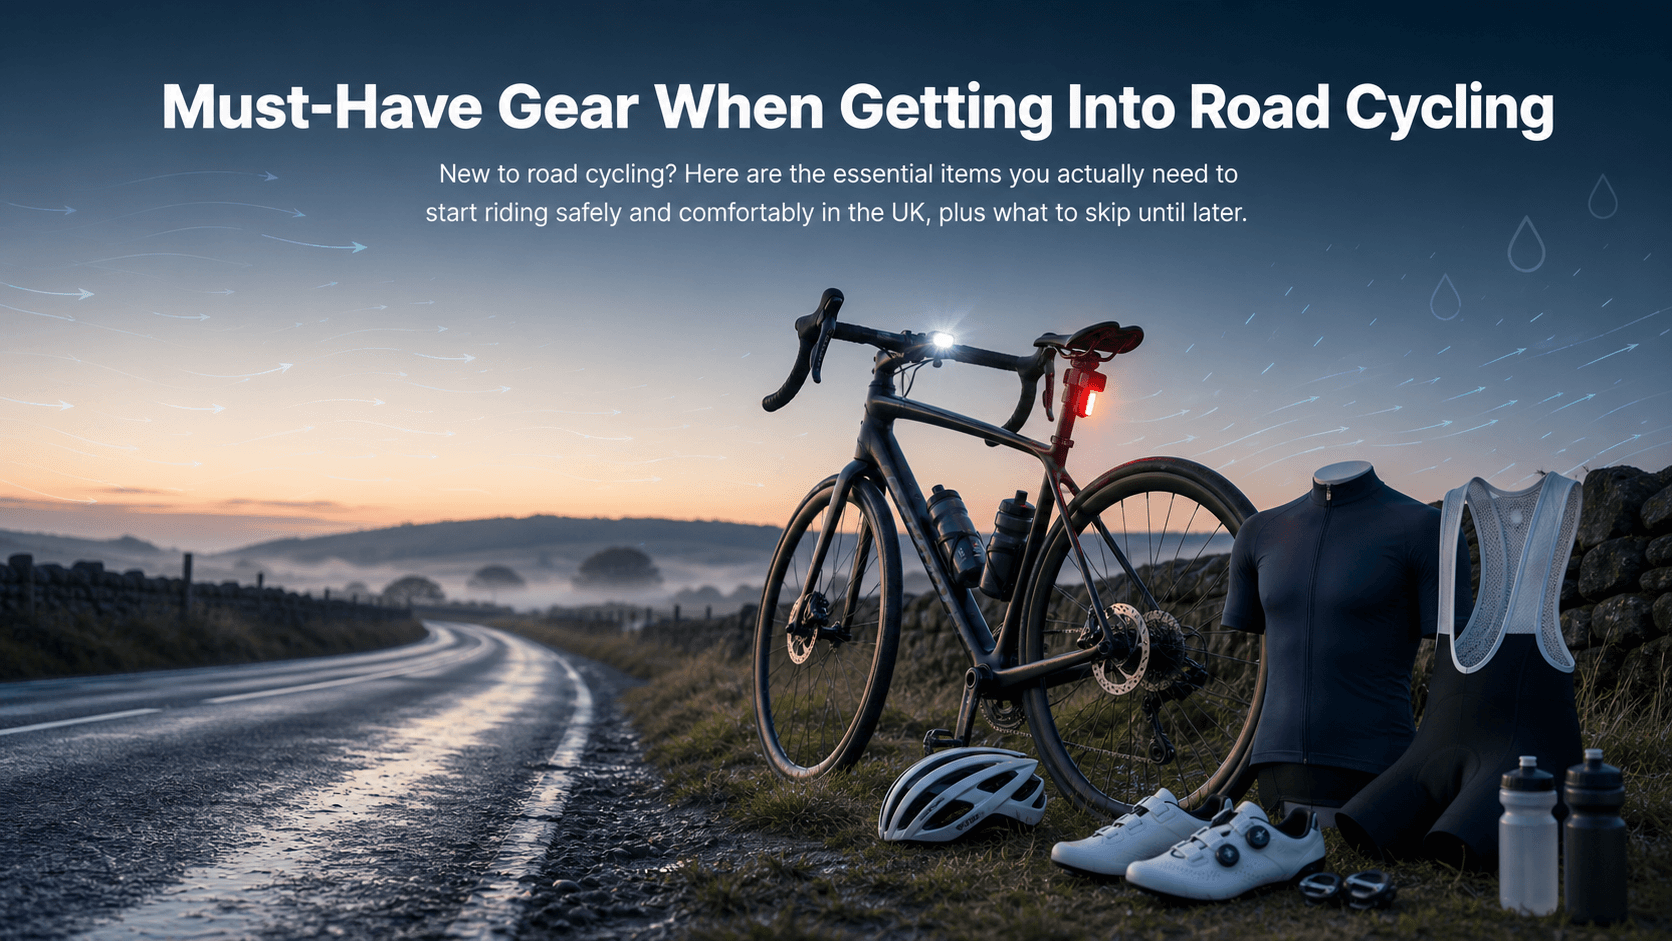
You've got the bike. Now what? The world of road cycling kit can feel overwhelming, padded this, clipless that, tubeless the other, and every shop wants to sell you all of it at once. The truth is you don't need everything immediately. You need the right things first.
This list covers the essential road cycling gear for beginners, with a clear split between "buy this now" and "buy this later". There's also a UK-specific lighting checklist, a step-by-step flat repair guide, and answers to the questions that trip up most new riders.
Quick answer: the road cycling starter kit
Before we get into detail, here's the fast version. If you're heading out for your first road ride, these are the items worth having:
Must-have now:
- Helmet (properly fitted)
- Padded bib shorts
- Cycling jersey
- Road shoes + matching pedals (or flat pedals to start)
- Water bottle(s) + cage(s)
- Front and rear lights (if any chance of riding after sunset)
Nice to have, buy later:
- Cycling gloves
- Sunglasses
- Gilet or arm warmers
- Saddle bag + basic tools
- GPS computer
- Second pair of bib shorts
You don't need to spend a fortune before your first ride. Start with comfort and safety, add everything else as your riding routine takes shape.
1. Helmet: your most important purchase
This one's non-negotiable. A helmet that doesn't fit properly isn't doing its job, so fit matters as much as the helmet itself.
How a properly fitted helmet feels
When you put it on, the helmet should sit level on your head, roughly two finger-widths above your eyebrows. It should feel snug but not painful, with no side-to-side or front-to-back wobble. The straps should form a V-shape just below each ear, and the chin strap should allow only one finger to pass underneath when fastened.
What to look for when buying
Look for helmets carrying CE EN 1078 certification, which is the standard required for cycle helmets sold in the UK. Some helmets also carry additional ratings such as MIPS (a rotational impact liner), which is worth considering for road riding.
Common helmet fit mistakes to avoid
- Wearing it tilted back so your forehead is exposed
- Leaving straps too loose so the helmet shifts on impact
- Buying a size up for comfort (you've negated the protection)
- Pressure points from a poor fit that you just get used to
If it doesn't feel right in the shop, try a different brand's shell shape. Head shapes vary, and so do helmets.
2. Bib shorts: the gear that makes long rides bearable
Road cycling bib shorts are one of those items where spending a little more genuinely changes the experience. A poor chamois means chafing, saddle soreness, and cut-short rides. A good one means you forget it's there.
Why bibs beat regular shorts
The bib design (shoulder straps rather than a waistband) stays in place when you're bent over the bars. A waistband digs in when you're in the riding position and can ride up on longer efforts. Once you've ridden in bibs, it's difficult to go back.
What a good chamois actually feels like
The pad should feel supportive, not bulky. There should be no bunching when you sit down, no seams sitting directly under your sit bones, and no rough edges near your inner thighs. The compression of the short itself should hold the pad in position throughout the ride.
Sizing and care
Size for a snug fit in the legs without the pad pulling away from your body when you stand. Don't size up thinking it'll be more comfortable, a loose chamois moves, and movement causes rubbing.
For washing: cold or warm machine wash (follow the label), no fabric softener (it breaks down the pad's foam), and air dry where possible. Fabric softener is the fastest way to ruin an otherwise good pair of bibs.
3. Cycling jersey: layers that work for UK weather
A cycling jersey isn't just a branded shirt. The fit (closer at the back, longer hem, dropped tail), the fabric (moisture-wicking, fast-drying), and the three rear pockets make it genuinely functional in a way a regular t-shirt isn't.
Layering for UK conditions
British cycling clothing guidance from British Cycling breaks seasonal kit into sensible layers: a base layer manages sweat, a mid layer (jersey or lightweight gilet) provides insulation, and an outer layer handles wind and rain. You can mix and match based on temperature rather than buying separate "winter" and "summer" kits.
A rough temperature guide for road cycling in the UK:
| Temperature | What to wear |
|---|---|
| Below 5°C | Thermal base layer, long-sleeve jersey or bib tights, winter jacket, full-finger gloves, overshoes |
| 5–10°C | Base layer, short or long-sleeve jersey, bib shorts or tights, gilet or light jacket, gloves |
| 10–16°C | Base layer optional, short-sleeve jersey, bib shorts, arm warmers if windy |
| 16°C+ | Short-sleeve jersey, bib shorts, sunscreen |
On a windy day, arm warmers and a gilet weigh almost nothing in a back pocket and can turn a miserable second half of a ride into a manageable one. They're also one of the better-value upgrades on the "buy later" list.
4. Gloves and sunglasses: the comfort items that earn their place
Gloves
Road cycling gloves for beginners serve three purposes: grip on the bars over longer rides, padding for road vibration through the palms, and basic protection if you go down at low speed. Even a minor fall onto tarmac removes skin from unprotected hands quickly.
For summer, fingerless gloves are standard. Full-finger gloves become essential below around 8°C. Sizing matters here: gloves that are too large will bunch at the fingers and rub, so measure your hand circumference and check the brand's size guide before buying.
Sunglasses
Cycling sunglasses for road riding are about more than UV protection. Debris (flies, grit, dust), wind-induced watering eyes, and the distraction of squinting into low sun all affect concentration and safety. On a long descent, clear vision matters a lot.
For UK conditions, glasses with interchangeable lenses (clear and tinted) give you flexibility year-round. A retainer strap or sport-fit frame helps keep them on during hard efforts. Clear lenses are worth using in autumn and winter even on dry days.
5. Shoes and pedals: flat vs clipless for beginners
This is the question that stops more new road cyclists than almost any other. Here's how to think about it without overthinking it.
What "clipless" actually means
Despite the name, clipless pedals are the ones you clip into. The term dates back to when toe clips and straps were replaced by a cleat-and-pedal system. Clipless pedals lock your shoe to the pedal via a cleat on the sole; flat pedals are just platforms with no attachment.
Which is better for a beginner?
If you want simplicity, the ability to walk normally at coffee stops, and no unclipping anxiety, flat pedals (or a recessed-cleat MTB-style system like Shimano SPD) are a perfectly reasonable starting point. Many experienced cyclists ride SPD-style pedals on commuter and gravel bikes for exactly this reason.
If you want to join group rides, improve pedalling efficiency from day one, and start building the clipless habit early, a beginner road clipless system is worth learning. The learning curve is just a few rides.
SPD vs SPD-SL vs Look Delta: which should beginners choose?
| System | Cleat type | Best for |
|---|---|---|
| Shimano SPD | 2-bolt, recessed | Beginners, commuting, café-stop walking |
| Shimano SPD-SL | 3-bolt, road-specific | Road efficiency, group riding |
| Look Delta / Kéo | 3-bolt, road-specific | Road efficiency, slightly more float |
For pure road cycling, SPD-SL and Look Delta are the most common systems. Both use a 3-bolt cleat pattern standard for road shoes. If you go clipless from the start, choose a system with higher cleat float (the rotational movement before the cleat releases). More float reduces knee discomfort while you're getting used to the motion.
Practise unclipping at home before your first ride out. Everyone falls over at a junction at least once, the sooner you get it done in a car park, the better.
6. Hydration: bottles, cages, and what to carry
Hydration is simple but often underprepared. Most road bikes have two bottle cage mounts; one cage and bottle is fine for rides under 90 minutes, two for anything longer or warmer.
Standard 750ml cycling bottles fit most cages. Check that the cage holds the bottle securely over rough surfaces before relying on it on a fast descent.
What to carry on different rides
| Ride length | What to take |
|---|---|
| 60 minutes | 1 bottle of water or electrolyte drink, phone |
| 2 hours | 2 bottles, 1–2 energy gels or a bar, phone, basic tools |
| Training ride / sportive | 2 bottles, food, full tool kit, cash/card, phone, emergency contact |
A small saddle bag handles tools and a spare tube without filling your jersey pockets. Jersey pockets are better used for food, a gilet, and your phone.
7. Puncture repair kit: the tools that get you home
Running a flat and having no way to fix it is one of the most preventable frustrating experiences in cycling. The kit weighs almost nothing and takes up barely any space.
Core carry kit for road cyclists
- Mini pump or CO2 inflator (and a spare CO2 cartridge)
- 1–2 spare inner tubes (matched to your tyre size)
- 2 tyre levers
- Patch kit (for emergencies if you run out of tubes)
- Mini multi-tool (with hex keys, Phillips head)
A mini pump is more reliable than CO2 for beginners because there's no wasted cartridge if you fumble the valve. CO2 inflators are faster and lighter, which is why many experienced riders carry one as a backup to the pump.
Tubes vs tubeless for road bike beginners
If your new road bike runs standard clincher tyres with inner tubes, ride tubes until you're comfortable with the basics of tyre removal and fitting. Tubeless setups (which use liquid sealant instead of a tube) offer puncture resistance and a more compliant feel, but they require more setup knowledge and a tubeless-specific plug kit for roadside repairs. Most beginners are better off learning on tubes first.
What to do when you get a flat
- Signal and move safely to the verge or a wide section of road
- Remove the wheel (rear: shift to the smallest sprocket first)
- Remove the tyre with your levers, check the inside of the tyre for whatever caused the puncture before fitting the new tube
- Fit the spare tube, starting at the valve, working around by hand before using levers
- Inflate partially, check the tyre is seated evenly, then inflate fully
- Refit the wheel and check the brake is re-engaged before riding
Run through this once in your garage before you need it on a quiet country lane. It'll take you 15 minutes to learn and save you 45 minutes of confusion roadside.
8. Night riding in the UK: the legal minimum
If there's any chance you'll be out near dusk or dawn, this section matters.
Under The Road Vehicles Lighting Regulations 1989, and as confirmed by the GOV.UK Highway Code (Rules 59–82), cyclists riding between sunset and sunrise must by law:
- Fit and illuminate a white front light
- Fit and illuminate a red rear light
- Have a red rear reflector fitted
- Have amber pedal reflectors fitted (if the bike was manufactured with them)
Cycling UK's guidance on cycle lighting regulations confirms these requirements and notes that both steady and flashing modes are legally acceptable for front and rear lights, as long as the light meets the required output standard.
Do helmet lights count?
No. A helmet light is a useful addition to your setup, and many riders use one for extra visibility. But it doesn't legally substitute for a white front light or red rear light fitted to the bike itself. You need both: lights on the bike plus a helmet light if you want one.
Quick compliance checklist before a night ride
- White front light fitted to the bike and charged/fresh batteries
- Red rear light fitted to the bike and charged/fresh batteries
- Red rear reflector present
- Amber pedal reflectors present (or reflective ankle bands as a supplement)
- Helmet light charged (optional but recommended)
Keep a charging routine. Flat lights are the most common reason UK cyclists find themselves in breach of the law, not lack of equipment.
9. Starter upgrade path: what to buy second
Once your basic kit is sorted and you're riding regularly, here's a sensible order for upgrading:
- Second pair of bib shorts, so you can ride on consecutive days without a damp chamois
- Better shoes + cleat system, if you started on flat pedals and want more efficiency
- Waterproof jacket, a lightweight cycling-specific shell for UK rain
- Arm warmers + gilet, far more versatile than a full long-sleeve jersey for UK spring/autumn
- GPS computer, once your riding is regular enough to benefit from navigation and data
- Cadence or power meter, only once you've built a consistent training routine and want to structure sessions properly
The most common beginner mistake is buying tech too early. A power meter won't make you fitter if you're still figuring out how to hold a wheel in a group or corner with confidence. Get the basics right first, then layer on the data.
Now that you're kitted out: ride at the right time
Gear gets you ready. Timing gets you the ride you actually want.
Once you're comfortable with your kit, the difference between a great ride and a grim one often comes down to when you leave and which route you take. A 15 km/h headwind on the first hour of a 60-mile loop is demoralising in a way that no amount of good kit can fix.
Tailwind GPS scores your routes by wind, temperature, and rain on an hourly basis, up to 14 days ahead. Connect your Strava routes and it'll tell you the best time to leave for each one, based on your actual pace. It's the practical next step after sorting your gear: the best cycling apps for planning rides based on the forecast all try to answer this, but route-level wind scoring is where the real difference shows up.
FAQ
Do I need lights during the day in the UK? No. UK law only requires lights between sunset and sunrise. That said, daytime running lights are widely used by road cyclists and improve your visibility to drivers, particularly in low light or overcast conditions. Many riders leave a flashing rear light on during daytime rides as standard practice.
Do helmet lights count as bike lights legally? No. The law requires lights fitted to the bicycle. A helmet light is an addition, not a replacement. You need a white front light and a red rear light on the bike itself.
SPD vs SPD-SL: which is easier for a beginner? SPD (2-bolt, recessed cleat) is generally easier for beginners because the cleat is recessed into the sole, making walking far more natural. SPD-SL (3-bolt, road cleat) is more efficient for pure road riding but awkward to walk in. If your priority is confidence and ease, start with SPD. If your priority is road performance from day one, go SPD-SL with a high-float cleat.
Tubes or tubeless for a beginner road cyclist? Start with tubes. Tubeless setups offer real advantages (fewer punctures, better ride feel) but they require more knowledge to set up and repair roadside. Once you're comfortable removing and refitting tyres with inner tubes, switching to tubeless is a worthwhile step. Don't add complexity before you've got the basics sorted.
What should be in your saddle bag for a 2-hour ride? Spare inner tube, two tyre levers, mini pump or CO2 inflator (plus a spare cartridge if CO2), a patch kit, a mini multi-tool, and a £10 note or card. If you're riding in autumn or winter, add a lightweight base layer or gilet that you can pull on if you stop or the temperature drops.
What's the one piece of kit most beginners skip that they shouldn't? The puncture kit. Gloves, sunglasses, and a GPS are all genuinely useful, but getting stranded with a flat and no way to fix it ruins a ride faster than anything else. Carry a spare tube and a pump before you buy anything else on the "nice to have" list.
Plan your next ride
Connect Strava or upload a GPX, then compare departure windows on your regular loops.
Related posts
Common Cycling Mistakes Beginners Make
Avoid the 12 most common beginner cycling mistakes, from saddle height and gear choice to route planning and wind timing. Fix them fast with our guide.
·7 min read
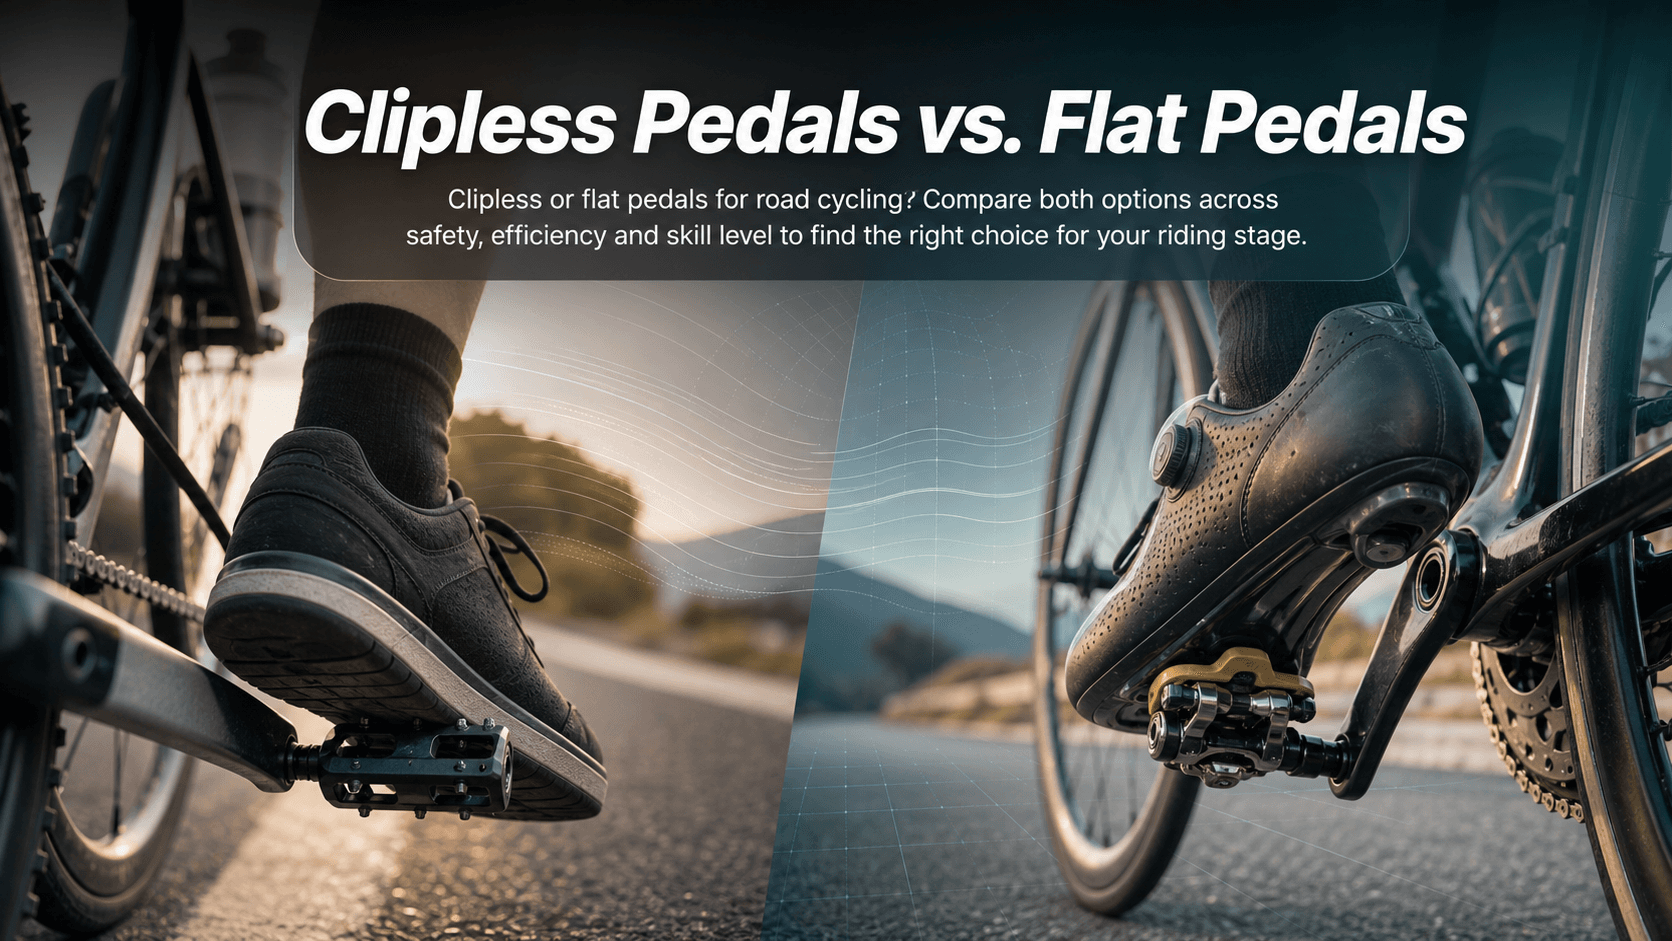
Clipless Pedals vs. Flat Pedals
Clipless or flat pedals for road cycling? Compare both options across safety, efficiency and skill level to find the right choice for your riding stage.
·8 min read
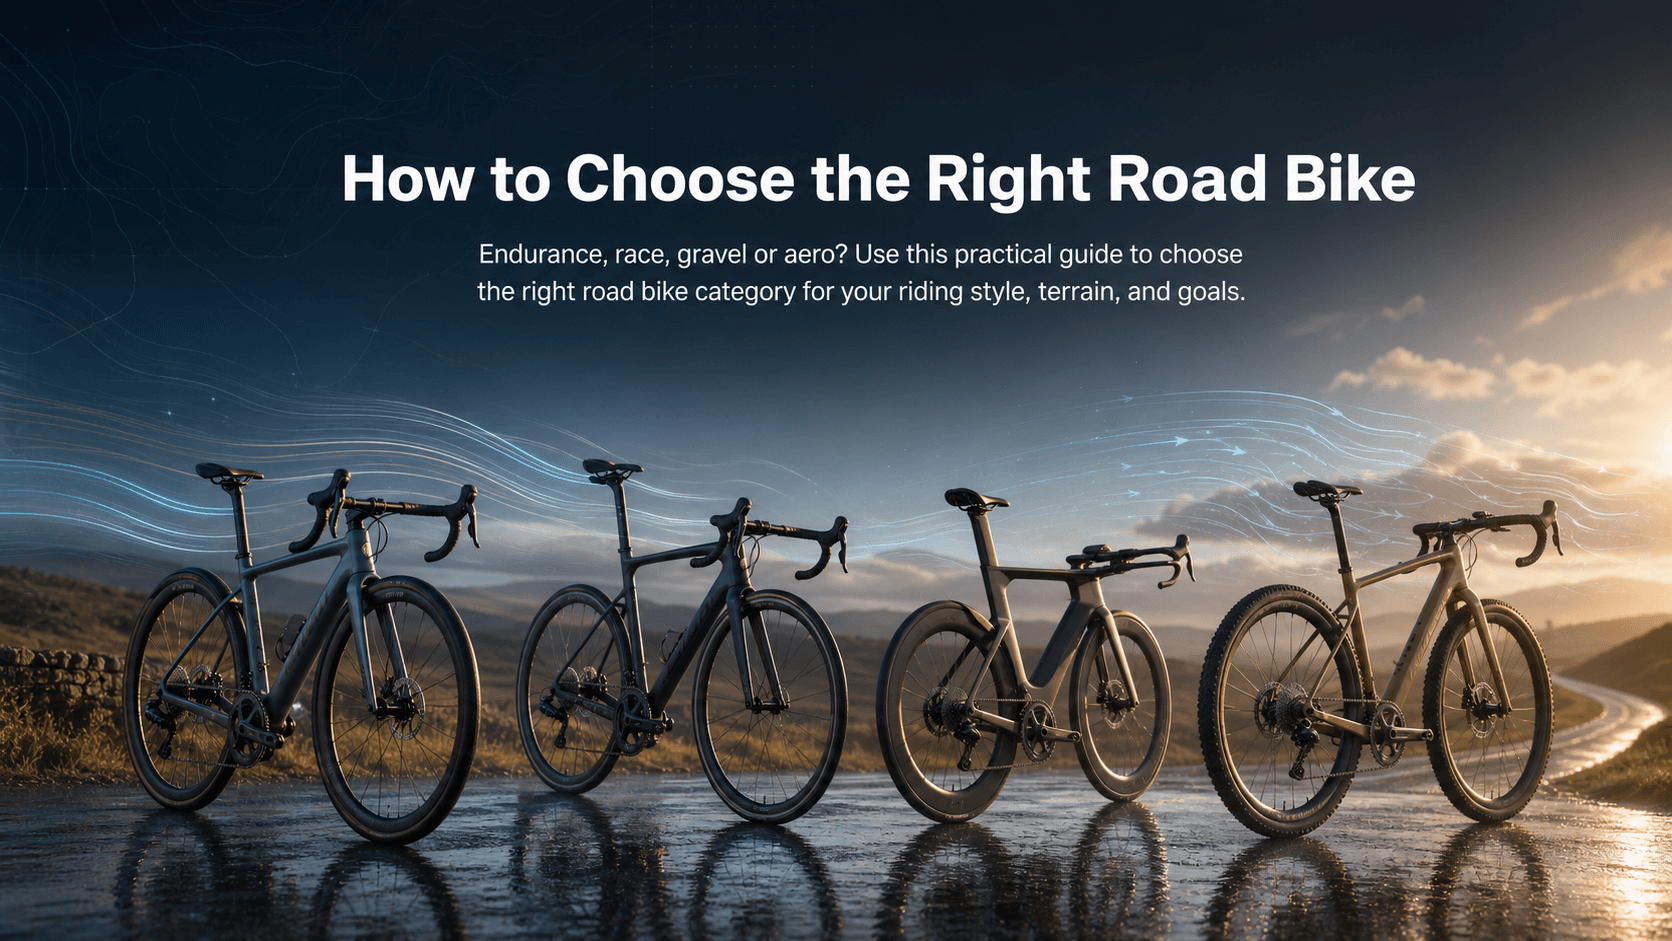
How to Choose the Right Road Bike
Endurance, race, gravel or aero? Use this practical guide to choose the right road bike category for your riding style, terrain, and goals.
·11 min read