How to plan a cycling route and navigate it on your phone
Plan a cycling route on your phone, pick the best hour, then start in-browser turn-by-turn. Tailwind GPS includes voice prompts, navigate-to-start, and rerouting.
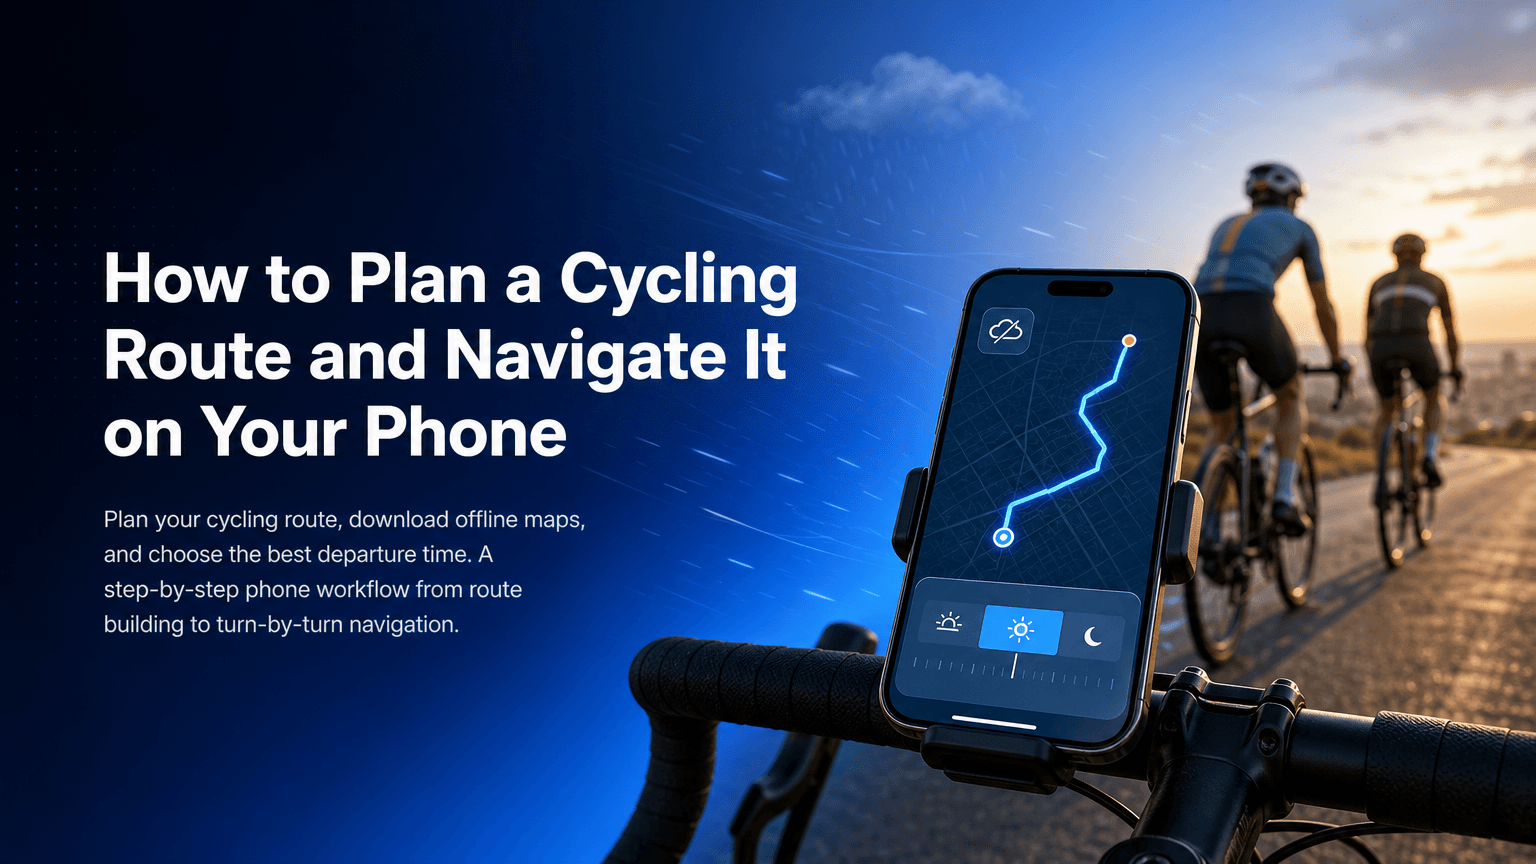
Getting a cycling route onto your phone and actually following it used to be two jobs in two apps. Mix them up and you end up squinting at a planning screen in a layby. This is the workflow now: plan and score the route in Tailwind GPS, then tap Start navigation in the same browser — turn-by-turn, voice, navigate-to-start, and rerouting included.
The phone workflow you'll use every time
Before getting into each step, here's the sequence that stops you getting caught out mid-ride with no map, no signal and no idea where to turn:
- Plan or build your route (library, draw, Strava sync, or import a GPX)
- Check conditions and pick your departure time (wind, rain, temperature along the full route)
- Mount the phone, grant location, start navigation in Tailwind GPS
- Follow navigate-to-start if you are not already on the line
- Ride — miss a turn and Tailwind GPS reroutes you back onto the planned loop
That's the whole workflow. Each step below makes it concrete.
Step 1: Choose or build your cycling route on your phone
You have two starting points: pick an existing route or create your own.
Pick an existing route. If you're already on Strava, your saved routes are ready to import. Connect your Strava account to Tailwind GPS and they appear automatically, no rebuilding required. Alternatively, browse a route library (Tailwind GPS has a free curated route library organised by city and distance), grab a GPX link from a clubmate, or load a sportive route someone shared.
Draw your own. Open the Tailwind GPS route builder in your mobile browser, tap waypoints on the map and let it snap to cycling roads, or switch to freehand for paths and tracks. Distance and elevation update live as you plot.
GPX is the common language here. Every major platform exports GPX, and Tailwind GPS imports it directly. If you've got a file from anywhere, a Komoot tour, a friend's Wahoo backup, a sportive organiser's download, you can load it straight in.
Checkpoint: You should have a route saved and visible on the map before moving to step 2.
Step 2: Start turn-by-turn in the browser
You do not need a second navigation app for the ride. Tailwind GPS already has in-browser cycling GPS turn-by-turn: next-turn prompts, optional voice, navigate-to-start, and rerouting when you leave the line.
- Open the saved route on your phone
- Grant location permission (While Using is enough to start; keep the tab in the foreground)
- Tap Start navigation — not just view the map
- If you are not at kilometre zero, follow navigate-to-start until you join the route, then the ride commits
- Enable voice if you want spoken cues through the speaker or earbuds
- Roll out. Miss a junction and stay on the road — rerouting calculates a path back onto the planned loop
That is true turn-by-turn. A breadcrumb line with no prompts is not.
If you prefer a Garmin or Wahoo, export GPX from the same route and load it as a course. Keep Tailwind GPS as the source of truth so the file matches the loop you scored.
Step 3: Head unit export (optional)
Phone navigation in Tailwind GPS is the default. Export only if you want a dedicated computer on the bars.
- Download the GPX from the route page
- Send it through Garmin Connect, the Wahoo ELEMNT app, or USB into the device's NewFiles / Courses folder
- Confirm the course appears with turn guidance enabled before you leave
Warning: A GPX track is coordinates only — line on the map, often no cues. Import it as a cycling course. If the computer stays silent at junctions, the file type is the usual cause.
Step 4: Plan the departure time, not just the route
This is where most riders leave time (and effort) on the table. You've planned the perfect loop, but you haven't asked whether 7am or 9am means the wind is on your back or in your face for the last 30 km.
Tailwind GPS scores your cycling routes by wind forecast, analysing wind direction, wind speed, temperature, and rain probability along every kilometre of your actual route, hour by hour, up to 14 days ahead. Each departure hour gets a single Tailwind Score from 0 to 100:
| Score | What it means |
|---|---|
| 80–100 | Excellent. Favourable winds for most of the ride |
| 55–79 | Great riding conditions |
| 40–54 | Neutral |
| 20–39 | Challenging |
| 0–19 | Prepare for a tough ride |
Because the score is calculated along your specific route segments (not just at your postcode), an 82 at 8am genuinely means your loop has the wind mostly behind you at that hour, not just that it's breezy somewhere nearby.
Pick the hour first
Swipe departure times on your saved loops and leave when the Tailwind Score is actually in your favour.
Example scenario: Saturday club ride
You've got two routes saved: a flat out-and-back along the valley, and a hillier loop exposed to the west. It's a westerly day.
You open Tailwind GPS, swipe between the two routes and scroll through Saturday's departure hours:
- Valley out-and-back at 8am: Score 71 (Great), mild crosswind on the return
- Hillier loop at 8am: Score 34 (Challenging), sustained headwind on the exposed climb home
- Hillier loop at 11am: Score 58 (Great), wind has shifted slightly and the climb gets more shelter
Decision made. You book the valley route for 8am with the club and start navigation in Tailwind GPS. Two minutes of planning. Comparing departure times for your Strava routes works the same way once your account is connected.
Step 5: On-the-day checklist
Run through this before you leave:
- Location permissions: Tailwind GPS needs location while the tab is open. Confirm the browser has access before you clip in
- Volume: Test voice cues through the speaker or earbuds before you roll
- Battery: GPS with the screen on drains a phone. Lower brightness, pack a small power bank for rides over three hours
- Navigate-to-start: If you are not at the route origin, wait for the join prompt before treating the ride as started
- Phone mount: Secure the mount. A handlebar mount with a rubber band loop beats friction alone
Safety note: pull over completely before reading messages, adjusting the route or checking scores. Don't fiddle with the phone at junctions.
Troubleshooting: why route navigation fails
Cues not speaking. Enable voice in Tailwind GPS before you start, raise media volume, and check the browser is allowed to play sound. Test on the driveway, not at the first roundabout.
Started away from the route. That is what navigate-to-start is for. Follow the join line until you hit the planned loop; do not ignore it and invent a shortcut.
Went off-course and nothing changed. Stay on a real road for a few seconds so rerouting can fire. Cutting across a field or stopping dead often looks like GPS noise, not a missed turn.
GPS drift at the start. Hold the phone still outdoors for 60 seconds until the position dot settles, then start navigation.
Head unit silent after GPX export. You probably loaded a track, not a course. Re-import as a cycling course and confirm turn guidance is on.
Where Tailwind GPS sits versus everything else
| Tool | Best for |
|---|---|
| Tailwind GPS | Plan, score the hour, then in-browser turn-by-turn with voice, navigate-to-start, and rerouting |
| Strava | Heatmap discovery and recording — not live navigation |
| Garmin / Wahoo head unit | Dedicated screen and battery; feed it a GPX from Tailwind GPS |
| Komoot / Ride with GPS | Extra apps if you already use them for discovery or club admin |
For most riders the phone is enough. Mount it, start navigation in Tailwind GPS, and leave when the score says so. Add a head unit only if you want a second screen.
FAQ
Can I export a route from Tailwind GPS and use it in another app or head unit? Yes. Tailwind GPS exports standard GPX files, which are accepted by Komoot, Ride with GPS, Garmin Connect, Wahoo Fitness and most other cycling apps and devices.
Do I need internet to follow my route? Tailwind GPS navigates in the browser, so you want a data connection for maps and rerouting. If you know you will lose signal for a long stretch, export the GPX to a head unit with onboard maps and keep Tailwind GPS for the hour you leave.
What's the difference between a route and a track? A route is a planned path with waypoints and, in most apps, turn-by-turn instructions. A track is a logged sequence of GPS coordinates, it draws a line on the map but doesn't generate cues. When exporting for navigation, you want a route file.
How do I plan for wind on the route, not just at my postcode? Use a tool that scores conditions along the actual route. Tailwind GPS analyses wind direction and speed at each segment of your loop, hour by hour, accounting for your expected position on the route at each point based on your pace. A generic forecast at your location won't tell you whether the exposed ridge at kilometre 45 will be a tailwind or headwind.
How far ahead can I plan? The Tailwind GPS free plan covers 3-day forecasts with up to 3 saved routes. A subscription ($2.99/month or $19.99/year) extends the planning window to 14 days and allows up to 40 saved routes, useful when you're scheduling club rides, block training weeks, or trying to find the best day for a long weekend ride.
Open the route builder
Draw a loop on your phone, save it, pick the hour, then start turn-by-turn in the same browser.
Related posts

Introducing Ride Huddles: a simple way to choose your next group ride
Ride Huddle is a simple way for groups to choose a route together. Create a Huddle, add your routes, share one link, and let everyone vote — free, with no account required.
·2 min read
How to navigate a cycling route without getting lost
Stay on the line with in-browser turn-by-turn: voice prompts, navigate-to-start, and rerouting. Tailwind GPS is the phone navigation — export GPX only for a head unit.
·8 min read
How to use a GPX file for cycling: download, load and navigate
Download a cycling GPX, import it into Tailwind GPS, and start in-browser turn-by-turn — or load it on a Garmin Edge. Score the hour before you roll out.
·9 min read