How to use a GPX file for cycling: download, load and navigate
Download a cycling GPX, import it into Tailwind GPS, and start in-browser turn-by-turn — or load it on a Garmin Edge. Score the hour before you roll out.
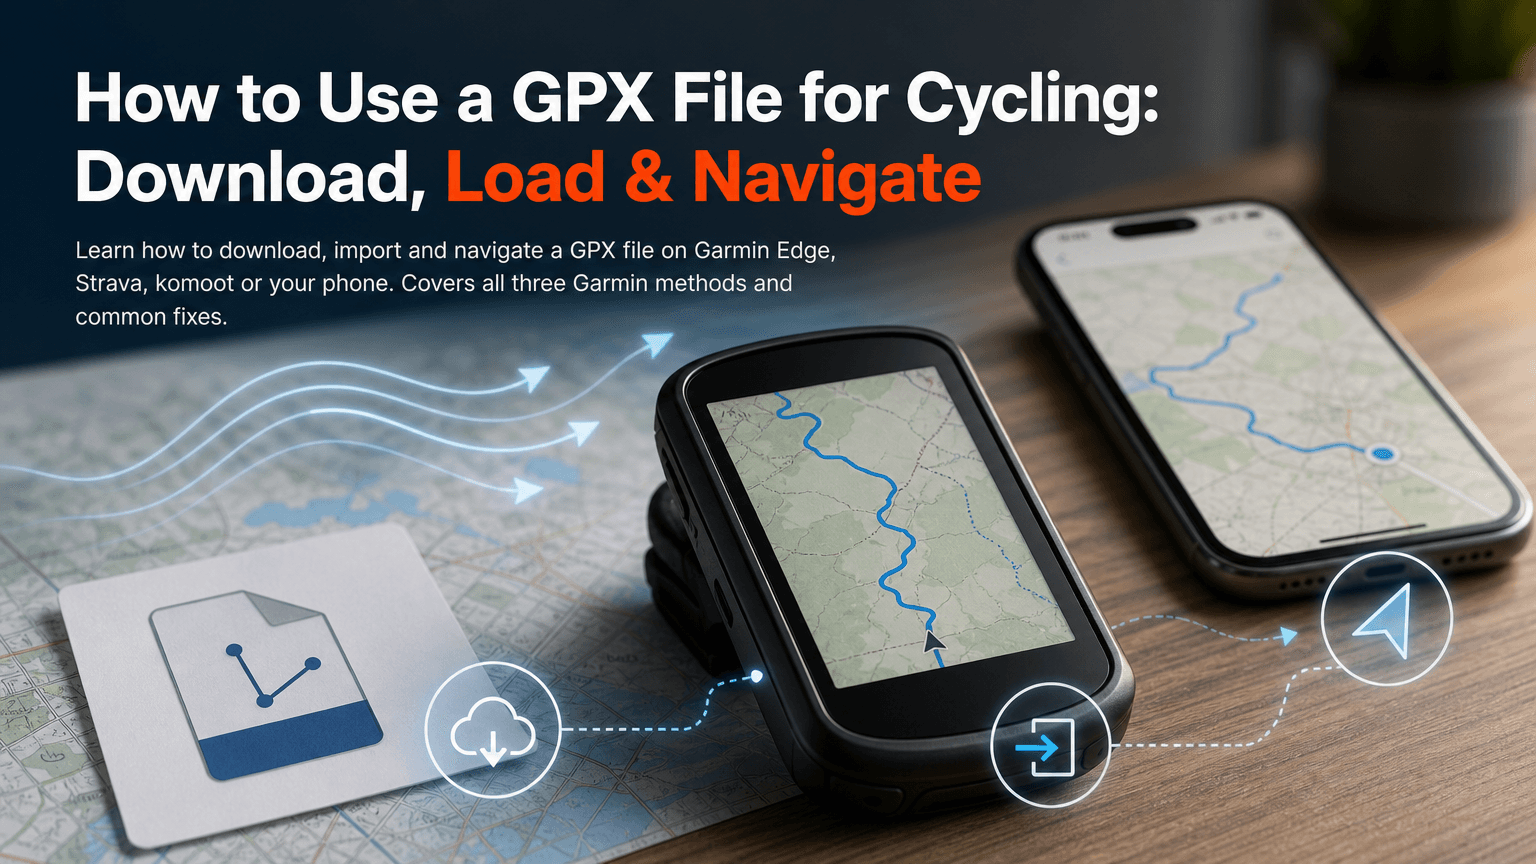
A GPX file is just a text file containing coordinates. Your phone, Garmin Edge, or route app reads those coordinates and draws the line on a map. That's it. No magic, no subscription wall, no proprietary format to decode.
What trips people up isn't the concept, it's the specific clicks required for their particular setup. This guide skips the theory and gets straight to your destination device.
What "using a GPX for cycling" actually means
A GPX file stores route geometry: a sequence of latitude/longitude points (and usually elevation) that form a line on a map. It may include a GPX track (a continuous recorded path), waypoints (named points of interest or turn alerts), or both.
When you "use" a GPX for cycling, you're doing four things in sequence:
- Download the file from wherever the route lives
- Import or upload it into your platform or device
- Sync or transfer it so the hardware can read it
- Start navigation and verify you're going the right way
The platform in the middle changes depending on your setup. Use the selector below to jump straight to your workflow:
- Phone only (iOS or Android) — Step 1, then import into Tailwind GPS and start navigation
- Strava user — Step 1 then Option A, or connect Strava so the route is already in Tailwind GPS
- Garmin Edge — Step 1 then Option C
- Tailwind GPS on the phone — Step 1, import or sync, then Start navigation (navigate-to-start and rerouting included)
Step 1: download the GPX file
What to look for on the source page
Every route-sharing platform or event website labels the download button slightly differently. Look for:
- "Export GPX" or "Download GPX"
- "Export as file" (then choose GPX from the format list)
- "Download route" with a format dropdown
On mobile, some platforms hide the export button behind a share icon or a three-dot menu. If you can't find it on the app, try the website on a desktop browser first.
Common sources for cycling GPX files
Event websites and sportive organisers usually publish a GPX on the event's route page. Look for a "Route" or "Course" tab.
Komoot lets you export any route you've planned or saved. Open the route, select the share/export option, and choose GPX. According to komoot's support documentation (updated May 2026), GPX is one of the supported formats for both export and import.
Ride with GPS offers GPX export on its free plan. Open your route, click the export button, and select GPX Track or GPX Route depending on your intended device.
Strava lets you export GPX from any activity you've recorded: go to the activity page, click the three-dot menu, and select "Export GPX". For saved routes, the export option appears in the route detail view.
The Tailwind GPS route library offers free GPX downloads for curated loops across dozens of cities worldwide. Browse by location, filter by distance and elevation, and download the file directly to your device.
Quick tip: save the file to your Downloads folder and rename it something short and descriptive (e.g., SurreyHills60km.gpx). Garmin devices truncate course names, so a long filename won't display fully anyway.
Step 2: load the GPX file
There are four common destinations for a downloaded GPX. Start with Tailwind GPS if you want turn-by-turn on the phone.
Option A: import GPX into Tailwind GPS (best for phone turn-by-turn)
This is the default if you navigate on a phone.
- Open Tailwind GPS and import the
.gpxfile - Save the route
- Check the hourly Tailwind Score and pick the departure hour
- Tap Start navigation — turn-by-turn, optional voice, navigate-to-start, rerouting
You do not need Komoot or Ride with GPS for the ride. Cycling GPS turn-by-turn in the browser is the point of importing here.
If you also want a Garmin or Wahoo, export GPX from that saved route after you have scored it.
Option B: upload GPX to Strava (create a route from a GPX file)
According to the Strava Help Centre, the workflow to create a Strava route from a GPX file is done entirely on the Strava website:
- Log in to Strava on a desktop browser
- Go to Dashboard > My Routes
- Click Create New Route
- Use the upload option to select your saved
.gpxfile - Strava will plot the route on the map. Review it, give it a name, then save
After saving, confirm the route appears in your "My Routes" list before you try to use it for navigation. If it doesn't appear within a minute, refresh the page. A route that hasn't saved correctly won't sync to your head unit or the Strava mobile app.
Once saved, sync your Strava routes with Tailwind GPS so you can score the hour and start navigation without rebuilding the line.
Option C: import a GPX into komoot
Komoot supports two distinct import types, and choosing the wrong one causes confusion:
- Import as a saved route - the file becomes a route you can navigate, edit, and send to a connected device. Use this for a GPX you want to follow.
- Import as a completed activity - the file is logged as a past ride. Use this only if you're importing a historical recording for tracking purposes.
To import as a saved route on the komoot website:
- Go to your profile and open Saved Routes
- Look for the import option (file picker)
- Select your
.gpxfile and confirm - Komoot will attempt to match the track to its known road network ("matching to known ways")
That map-matching step is worth watching. If your GPX follows a path komoot doesn't recognise (an unmapped track, a private road, or a route in an area with sparse map data), the imported route may deviate from the original line. Check the preview carefully and adjust any mismatched sections manually before you navigate.
Option D: load GPX on a Garmin Edge
This is where most questions come from, because Garmin offers three methods depending on what equipment you have to hand.
Method 1: Garmin Connect mobile app
According to Garmin Support, the mobile import flow works like this:
- On your smartphone, open the GPX file (from your email, Downloads folder, or a share sheet)
- Select Garmin Connect as the app to open it with
- Choose the course type (e.g., cycling)
- Rename the course if needed (keep it short, more on this below)
- Tap Save
The course then appears in your Garmin Connect course library. Sync your Edge to Garmin Connect (via Bluetooth) and the course transfers to the device automatically.
Method 2: Garmin Connect web import
If you're on a desktop, Garmin Support's documented web flow is:
- Sign in to Garmin Connect at connect.garmin.com
- Go to Training & Planning > Courses
- Click Import
- Drag and drop your
.gpxfile (or browse for it) - Choose the course type and click Save
Once saved, the course will sync to your Edge the next time it connects to Garmin Connect via Bluetooth or Wi-Fi. You can also use Garmin Connect to send the course directly to your device using the "Send to Device" option.
Method 3: manual USB install onto a Garmin Edge (the NewFiles folder method)
No phone or Wi-Fi nearby? Garmin Support's manual install method works for any Edge:
- Connect your Edge to your computer with its USB cable
- The Edge appears as a removable drive on your computer
- Open the drive and navigate to the
Garmin > NewFilesfolder - Copy your
.gpxfile into that folder - Safely eject the Edge from your computer
- The device will process the file and move it to the correct location on the next restart
Warning: don't drag the file to any other folder. The NewFiles folder is specifically designed to handle incoming course files. Copying to the wrong location usually means the course simply won't appear.
For more on cycling GPS turn-by-turn directions: phone navigation lives in Tailwind GPS; this Garmin section is only if you want arrows on a head unit.
Step 3: navigate the route (and verify before you roll)
Loading the file successfully is only half the job. Before you clip in, run through this checklist:
Before-you-ride verification:
- The course appears in your saved courses list (on device or in the app)
- The start point is where you expect it to be on the map
- The route direction is correct (it's going to Point B, not backwards to Point A)
- Turn alerts or waypoints are visible on the course preview (if your source file included them)
- Elevation profile looks plausible for the terrain
Starting a course on a Garmin Edge
After syncing, courses appear at: Navigation > Courses (the exact menu path varies slightly by Edge model, but "Courses" is consistently the label). Select your course, choose "Ride" or "Go", and the device will prompt you to navigate to the start if you're not already there.
On a phone (Tailwind GPS)
Import the GPX, save the route, tap Start navigation. Scroll the first few junctions on the preview if you want, then go. Navigate-to-start covers leaving from the car park instead of kilometre zero. Miss a turn and rerouting brings you back onto the planned loop.
Troubleshooting: the stuff that ruins rides
"My GPX won't import"
First, check the file extension is actually .gpx (not .gpx.zip or .xml). Some browsers and platforms add extra extensions. If the file looks correct but still fails, download it again from the source, a partial download produces a corrupt file that will silently fail most import validators.
If you received the file from a friend and it still won't load, ask them to re-export it from their platform. Some exported GPX files contain non-standard tags that certain apps reject.
"The course name is truncated on my Garmin"
Garmin devices display a limited number of characters for course names (typically around 15 characters on older Edge models). The full name is stored internally, but only the shortened version shows on screen. If you're struggling to identify courses in a long list, rename them at import time in Garmin Connect to something short and identifiable.
"It navigates but keeps telling me I'm off-route"
This usually means your GPX is a raw track (a recorded line of coordinates) rather than a routed course that snaps to the road network. Two approaches:
- Import it into Tailwind GPS, save it, and start navigation (or re-export a cleaner GPX for the head unit)
- Set the device to "follow track" rather than "navigate course" only if you just need the line and no off-route warnings
The first option gives cleaner turn-by-turn directions. The second is faster if you just need to follow the line without off-route warnings.
"I imported it but nothing shows on my device"
Most commonly: the sync hasn't happened yet. On a Garmin Edge, go to Settings > Connected Services and force a sync, or open Garmin Connect on your phone and confirm the course is listed before checking the device. If you used the USB/NewFiles method, restart the Edge after ejecting.
Also check that you saved the course (not just previewed it) in Garmin Connect. Courses that haven't been explicitly saved don't transfer.
Large or complex GPX files
A GPX file with thousands of track points can cause slow loading or import failures on older head units. If you're dealing with a multi-day route or a very long event file, consider splitting it into day-stages using a tool like GPSies or GPX Editor before importing. Re-export each segment as a separate file and load them one at a time.
How Tailwind GPS fits into this workflow
Importing a GPX is how you get the line. Tailwind GPS then does two jobs the file cannot: score the hour, and navigate it.
- Import the GPX (or browse the route library, or connect Strava)
- Check the hourly Tailwind Score (0–100)
- Pick the departure hour
- Tap Start navigation for in-browser turn-by-turn — voice, navigate-to-start, rerouting
- Optional: export GPX to a Garmin or Wahoo
A score of 80+ means favourable tailwinds for most of the ride. A score in the 20s is worth rescheduling.
Import a GPX and navigate
Load the file, pick the hour, then start turn-by-turn in the browser — export to a head unit only if you want one.
You can also draw your own cycling route in Tailwind GPS, then navigate it or export GPX.
FAQ
Can I use a GPX file on iPhone or Android?
Yes. Import the file into Tailwind GPS and start navigation in the browser. That is the turn-by-turn path on iPhone and Android. You can still open the same GPX in Garmin Connect or another app if you want a head unit.
Can I export GPX from Strava, komoot, and Ride with GPS?
All three support GPX export. On Strava, export from any activity page (three-dot menu > Export GPX) or from a saved route's detail view. On komoot, open any planned or saved route and use the export/share option. On Ride with GPS, the GPX export is available on the free plan from the route detail page.
What's the difference between GPX, TCX, and FIT?
GPX is a universal open format: supported by almost every app, website, and device. TCX (Training Centre XML) is a Garmin-originated format that carries structured workout data (laps, heart rate, power) alongside the route, it's preferred for training logs. FIT (Flexible and Interoperable Data Transfer) is Garmin's binary format, compact and fast, used natively by Garmin devices for activities and courses. For sharing and loading routes, GPX is the safe default. If a Garmin import fails with a GPX, try exporting a TCX version from your source platform instead.
Do I need to sync to get a course onto a Garmin Edge?
If you import via Garmin Connect (app or web), yes: the Edge needs to sync to receive the course. Syncing happens automatically over Bluetooth when the Edge is nearby, or you can force it manually in the Garmin Connect app. If you use the USB/NewFiles method, no sync is required, the file transfers directly and the Edge processes it on restart.
For a fuller comparison of how to plan rides based on wind and weather forecasts, that guide covers the key apps side by side so you can choose the right tool for each stage of your workflow.
Score the GPX before you ride
Import the file, pick the best hour, then start turn-by-turn — or export again for a head unit.
Related posts
Introducing Ride Huddles: a simple way to choose your next group ride
Ride Huddle is a simple way for groups to choose a route together. Create a Huddle, add your routes, share one link, and let everyone vote — free, with no account required.
·2 min read
How to navigate a cycling route without getting lost
Stay on the line with in-browser turn-by-turn: voice prompts, navigate-to-start, and rerouting. Tailwind GPS is the phone navigation — export GPX only for a head unit.
·8 min read
How to plan a cycling route and navigate it on your phone
Plan a cycling route on your phone, pick the best hour, then start in-browser turn-by-turn. Tailwind GPS includes voice prompts, navigate-to-start, and rerouting.
·6 min read