How to ride faster without getting fitter: a quick-wins checklist
Ride faster on the same fitness with proven aero, cadence, drafting, and pacing techniques. Includes a pre-ride safety checklist and a real-ride example.
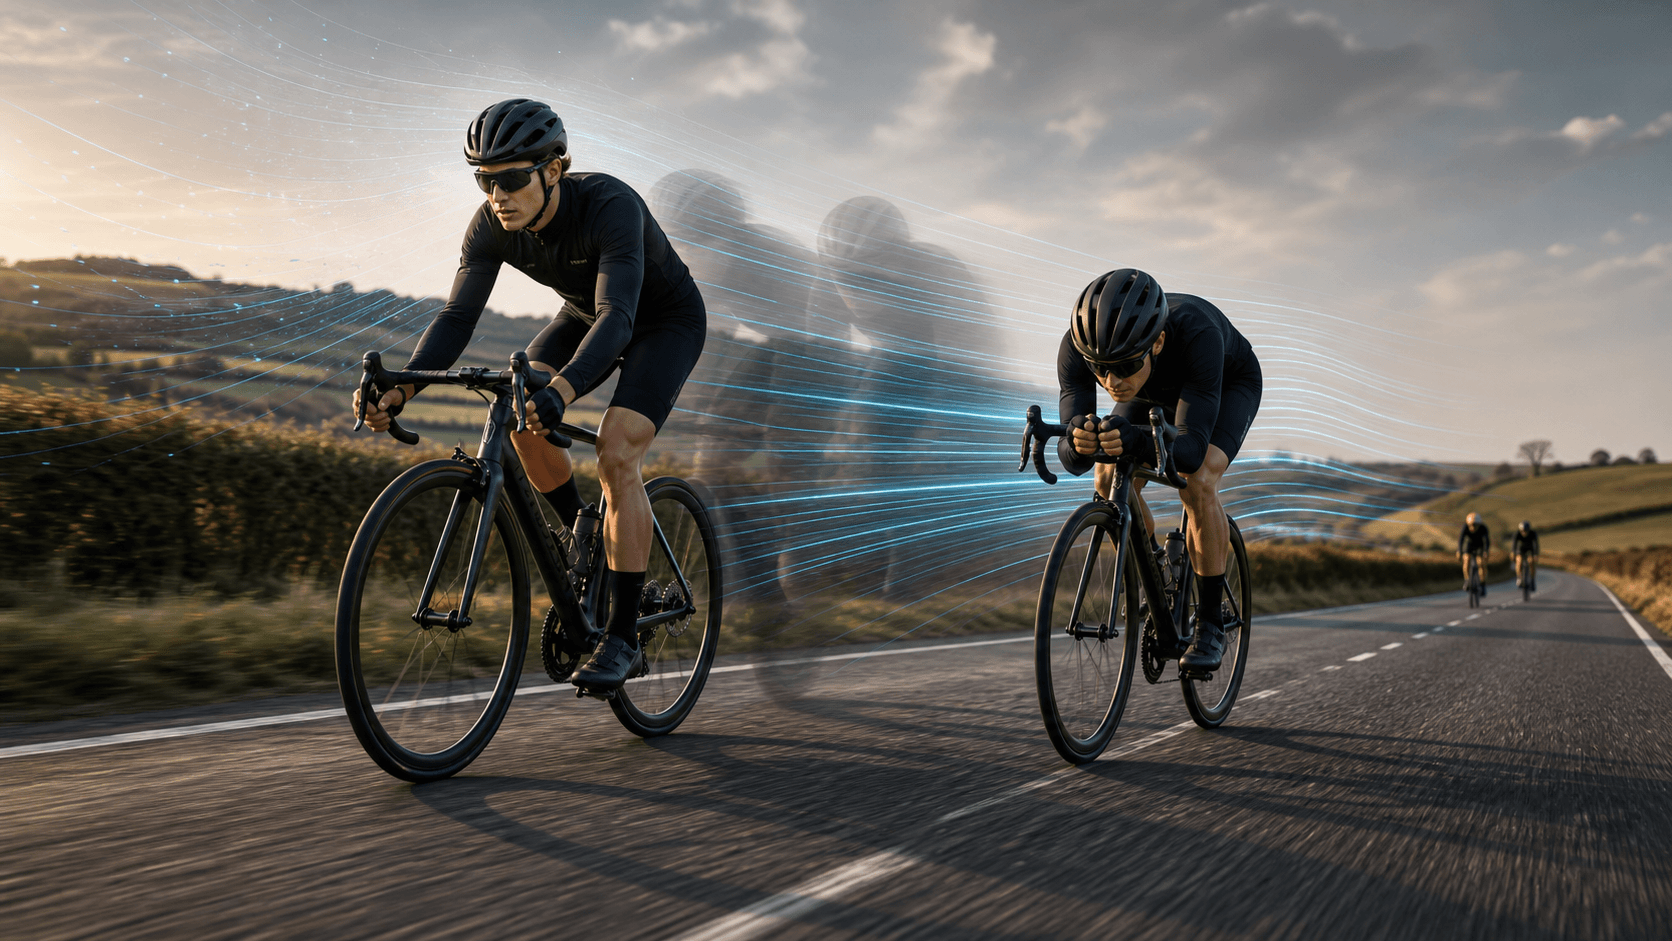
You don't need a training plan to go faster. You don't need a new bike, a wind tunnel, or a month of hard intervals. Some of the biggest speed gains available to any rider come from small, repeatable technique changes you can apply on your very next ride.
This guide is for recreational and club cyclists who want to squeeze more speed from the fitness they already have. We're talking about reducing the resistance working against you, moving more efficiently, and making smarter decisions mid-ride. None of this requires getting fitter.
By the end, you'll have a concrete checklist to run through before you roll out, plus a short example scenario showing how it all fits together.
Who this is for: road, gravel, and club cyclists of any level.
Prerequisites: a road or gravel bike in reasonable working order and a pump. No power meter is required, though we cover how to use one if you have it.
Difficulty: Easy to apply. The hardest part is remembering to do it consistently.
Time needed: 10 minutes of prep, applied during your normal ride.
Why small changes feel like big fitness gains
Aerodynamic drag is the dominant force working against you above roughly 30 km/h. It scales with the square of your speed relative to the air, so at higher speeds even a modest drag reduction pays back disproportionately large gains. ScienceDirect's review of cyclist aerodynamics confirms that drag is the central performance factor in road cycling. That's not a marginal concern, it's the main event.
The good news: you can reduce drag right now, without touching your fitness.
There are four levers you can pull today: body position, cadence and gearing, group riding efficiency, and pacing smoothness. Pull all four and the cumulative effect can genuinely feel like you've had a productive training block.
For the biggest results, you'll also want to set yourself up before you even leave home, which is where route and timing choices come in. We'll get to that at the end.
Step 1: change your body position to reduce frontal area
The single most effective free-speed upgrade for most cyclists is a lower, narrower body position. When you sit up tall with elbows flared wide, you're presenting a large surface area to the air. Drop your torso, bring your elbows in, and tuck your chin slightly, and that area shrinks noticeably.
EF Pro Cycling state it directly: "The easiest way to decrease that drag is to decrease frontal area. That means head down, elbows in."
SILCA measured the real-world difference. Compared to riding on the hoods, a lower drops position delivered a 19.6-watt advantage at 40 km/h. That's nearly 20 watts of free speed, no extra fitness required.
How to do it
- Move your hands to the drops (the lower part of your handlebars) on safe, open stretches of road.
- Bend your elbows to roughly 90 degrees and draw them inward, so they're roughly in line with your hips rather than flared out to the sides.
- Lower your chin slightly and relax your shoulders down away from your ears. Don't force your head so far down that you lose visibility of the road ahead.
- Hold the position for 30–60 seconds, then check in: are your neck and lower back comfortable? If not, ease back to the hoods. This should feel manageable, not painful.
Safety note: always look ahead. The aero benefit disappears instantly if you have to brake hard because you weren't watching the road. On descents, junctions, and any stretch with traffic or pedestrians, prioritise visibility and control over position.
If you're interested in aero bars or a more aggressive TT-style setup, get comfortable with drops first. Practise any new extreme position on quiet roads or off-road before committing to it in traffic.
For guidance on choosing a bike that suits the position you want to hold, the road bike selection guide covers what to look for.
Step 2: cadence and gearing, the 85–95 rpm rule
Pushing a big gear at low cadence is one of the most common ways cyclists waste energy. Grinding at 60–70 rpm loads your muscles heavily and creates fatigue long before your cardiovascular system is near its limit. Shift to a lighter gear, spin faster, and you spread the effort across your aerobic system instead, which can sustain it far longer.
The target range for most riders on the flat is 85–95 rpm. On climbs, a slightly lower cadence is normal, but the same principle applies: if you feel your legs stalling or your pedal stroke becoming jerky and effortful, shift down.
How to apply this
- Glance at your cycling computer's cadence display (or count pedal strokes for 15 seconds and multiply by four).
- If you're below 80 rpm on a flat road, shift to an easier gear.
- If you're grinding and feel knee discomfort, heaviness, or a stop-start rhythm, that's too big a gear.
- Aim to keep the pedals turning smoothly and consistently, that's the whole cue. "Always be able to keep turning the pedals" is a reliable internal check.
The improvement in climbing cadence follows the same logic. For a full breakdown of how cadence affects climbing efficiency specifically, see how to improve your climbing.
Step 3: drafting basics, use the slipstream
Riding directly behind another rider or in a paceline is one of the most powerful performance tools available to any cyclist, regardless of fitness. You're essentially using someone else's effort to part the air for you.
A 2021 Sports Engineering paper published by Springer Nature quantified the benefit precisely: drafting allows cyclists to save over 7% of power on a slope of 7.5% at 6 m/s. At 8 m/s, the power reduction can exceed 16%. On flat roads at typical club-ride speeds, the savings are even greater.
That means riding second-wheel in a group of two can cut your power requirement by a meaningful margin, at the same speed. Or, at the same effort, you go faster.
How to draft safely and effectively
- Ride about 0.5–1 metre behind the wheel in front. Closer is more efficient aerodynamically, but requires more focus and reaction time. Start at 1 metre and close the gap gradually as your confidence builds.
- Don't overlap wheels. If the rider ahead brakes or swerves, overlapping front wheels causes crashes. Keep your front wheel behind theirs.
- Keep a consistent line. Sudden direction changes or braking in a group are dangerous. Signal hazards verbally ("hole", "slowing", "stopping") and point them out.
- Share the work. If you're at the front, take a turn pulling, then drift smoothly to one side and drop to the back of the line. Don't accelerate when you hit the front; maintain the group's pace.
- On corners, increase your gap slightly. Drafting close through bends is higher risk, and one abrupt brake can eliminate the efficiency advantage you've just built.
For the full picture of group riding etiquette and paceline safety, essential cycling skills is worth a read before your next club run.
Step 4: pace smoothly, don't let your effort spike and crash
Jittery pacing burns energy without producing proportionally more speed. Every surge above your target effort costs extra energy, and every slowdown means you have to re-accelerate. Smooth, consistent effort is faster than variable effort at the same average output.
This is where the concept of 3-second average power becomes useful. Strava's Power Meter Guide (September 2023) describes it as "a top-line data field... It's a stable figure", meaning it smooths out the instantaneous fluctuations from bumps, micro-accelerations, and gear changes, giving you a cleaner signal of your actual effort.
If you have a power meter
- Set your head unit to display 3-second average power as your primary field.
- Pick a target wattage for the type of ride you're doing and hold it as steadily as possible.
- After any acceleration, corner, or climb, allow 10–15 seconds to 'settle' back to your target before locking in again.
- Ignore instantaneous power spikes, they'll resolve on their own if you hold your position and cadence steady.
If you don't have a power meter
Use your Rate of Perceived Exertion (RPE) and breathing. A 'comfortably hard' effort where you can speak in short phrases but not full sentences is a sustainable target for most club rides. Don't sprint to close gaps, and don't coast unnecessarily. Smooth and consistent is the goal. For more on RPE-based and structured training approaches, the guide on building endurance without overtraining has practical detail.
Step 5: quick pre-ride safety checklist
None of the steps above work well if your bike isn't ready. Run through this before every ride.
Tyres: Check pressure before rolling out. British Cycling's tyre pressure guide (February 2025) is the go-to reference for road cycling pressure by rider weight and discipline. If you're running hookless rims, Canyon's guidance sets a strict maximum of 5 bar (around 72 psi), don't exceed it. In wet conditions, dropping pressure slightly (by around 10–15 psi) improves grip and contact patch. For a thorough overview of tyre options and pressure implications, tubeless vs inner tubes covers the trade-offs clearly.
Brakes: Squeezing both levers firmly and rocking the bike forward and back. If either wheel moves before the brakes engage, the pads need adjusting or the cables need tensioning.
Lights: Front white, rear red. Even in daylight, a flashing rear light is a sensible habit. If you're riding in low-light conditions, check batteries before you go, not halfway through the ride.
Position check: If you plan to use drops or a lower position, confirm the road conditions suit it. Wet roads, loose surfaces, heavy traffic, or technical descents are not the time to experiment with an unfamiliar position.
One-ride example: putting it all together
Here's how a typical 45-minute club loop might look when you apply these steps from the start.
The scenario: rolling terrain, headwind on the way out, tailwind on the way back, a couple of riding partners.
Step 1, Before you leave: pump your tyres to the correct pressure for your weight and conditions. Check brakes and lights. Done in under 5 minutes.
Step 2, First 5 minutes (warm-up): stay on the hoods, focus on smooth cadence at 85–90 rpm, settle into a comfortable effort. Resist the temptation to push hard into the headwind, you'll pay for it later.
Step 3, The exposed headwind section: move to the drops if the road is open and safe. Tuck your elbows in, drop your chin slightly, relax your shoulders. If you're with riding partners, move into their slipstream and maintain a 1-metre gap. Let the rider in front do the work. Rotate at the front for 1–2 minutes each, then drop back.
Step 4, Keep cadence honest: if you feel yourself grinding, especially as the road kicks up slightly, shift down and spin. Preserve the legs for the return.
Step 5, Tailwind home: with the wind at your back, this is where smooth pacing really pays off. Maintain your 3-second average power target (or a steady RPE), avoid surging, and let the tailwind give you free speed. Sit up slightly if you want, the drag is less punishing with a following wind.
What changes: at the end of the ride, you'll likely notice you feel less fatigued than usual at a similar or higher average speed. The difference isn't fitness. It's reduced resistance, better efficiency, and smarter effort management.
Safety reminder: if at any point road conditions change, there's traffic, or you're unsure about a position or gap, prioritise control. The marginal speed gain isn't worth a crash.
One more lever: choose the right departure time
All the technique in the world won't fully compensate for a 30 km/h headwind on the wrong route at the wrong hour. The smartest way to ride faster without getting fitter is to combine good technique with smarter timing.
Tailwind GPS scores your regular routes hour by hour on a 0–100 scale, accounting for wind direction, speed, and your expected position on the route at each point in time. The best departure time for a group ride can shift your average speed noticeably, simply by leaving when the tailwinds are working for you rather than against you.
Connect your Strava account, check which of your usual routes scores highest in the window you can ride, and you've added a fifth lever that requires zero extra effort on the bike.
Try it now
Score your usual routes by departure hour and leave when the tailwind is working for you.
Quick-wins checklist: ride faster today
Print this or save it to your phone.
Before you leave:
- Tyres pumped to the correct pressure for your weight and conditions
- Hookless rims: don't exceed 5 bar / 72 psi
- Wet road: reduce pressure by ~10–15 psi for better grip
- Brakes checked, both levers firm before wheel moves
- Lights on, front and rear, batteries checked
- Check the Tailwind Score for your route and departure hour
On the ride:
- Move to drops on safe, open stretches, head down, elbows in
- Keep cadence at 85–95 rpm on the flat; shift before it drops below 80 rpm
- Sit in a group's slipstream when possible, 1 metre gap, no wheel overlap
- Rotate at the front for 1–2 minutes; maintain pace, don't accelerate
- Use 3-second average power (or steady RPE) to pace smoothly
- Allow 10–15 seconds to 'settle' after accelerations before locking into target effort
- On corners and in traffic: increase gap, return to hoods, visibility first
These aren't advanced racing tactics. They're practical habits that any cyclist can build in a single ride, and the compound effect of doing all of them consistently is faster average speeds on the routes you already ride, no extra fitness required.
Connect Strava
Pull in your regular loops and see which departure hour scores highest before your next ride.
Related posts
How to Build Endurance Without Overtraining
Learn how to build cycling endurance without overtraining using a practical load, recovery, and adjustment system. Includes Zone 2 tips, warning signs, and weekly templates.
·10 min read
How to Improve Your Climbing
Climb faster on your road bike with structured FTP, threshold, and VO2 max training, plus smarter pacing, cadence, and route-specific wind planning.
·10 min read
How to Fuel Before, During & After Long Rides
Build a simple, evidence-based nutrition plan for long bike rides. Learn exact carb, sodium and protein targets to fuel performance and recover faster.
·8 min read