What makes a good cycling route? Distance, climbs, wind and navigation
Distance and elevation are not enough. Check roads, climbs, wind along your actual line, and whether you can follow it — then pick the departure hour with a Tailwind Score.
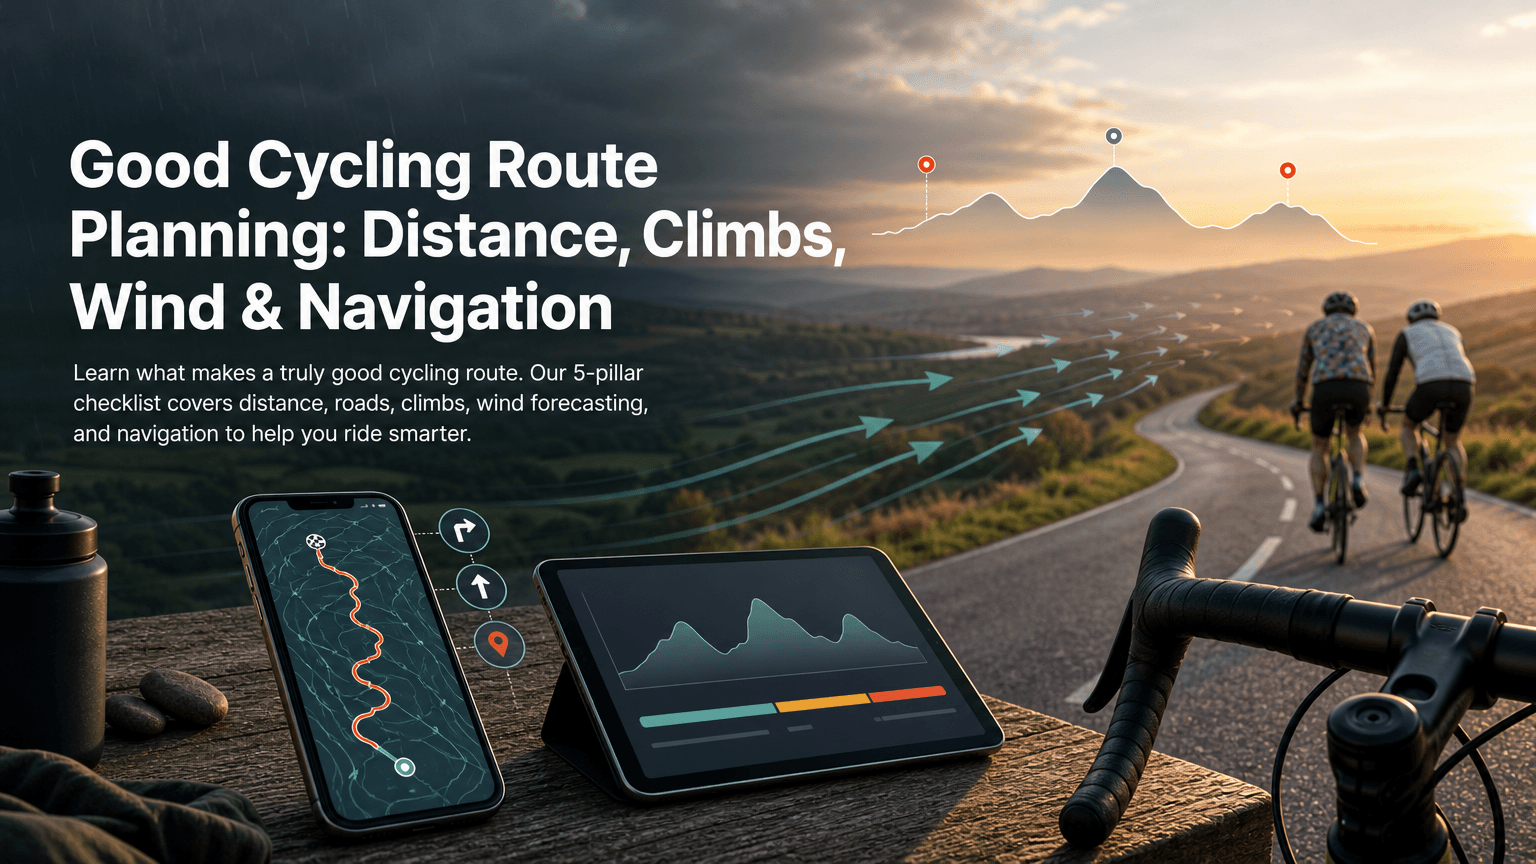
You've planned the route. The distance looks right, the elevation profile seems manageable, and you've got a solid departure time in mind. Then Saturday arrives and the whole thing falls apart: a 20-minute headwind slog out of the gate, a sketchy junction that dumps you on a dual carriageway, and three wrong turns because the GPX loaded as a track with no turn prompts. Sound familiar?
The thing is, none of those problems show up on a map. A route can look perfect on screen and feel terrible to ride. Getting it right means evaluating five things together: distance, roads, climbs, wind and navigation. Miss any one of them and your good-looking route turns into a miserable slog, or worse, a wasted day.
Here's the full checklist, pillar by pillar. And where most route planners leave you guessing, I'll show you what actually fills the gap.
Your cycling route planning checklist: the 5 pillars
Before any other analysis, a good cycling route must pass five basic tests:
- Does the distance and expected riding time fit your day?
- Are the roads and surfaces appropriate for your bike and your comfort level?
- Does the climb distribution match your training intent (or your ability to recover)?
- What will the wind actually feel like on the day, along your specific route?
- Can you follow it reliably without getting lost?
Most cyclists nail pillars one to three. Pillars four and five are where the wheels come off.
1) Distance and time: match the route to your day, not your ego
"Distance" is a misleading shorthand for what you're actually committing to. A 90 km loop with 1,400 m of climbing and awkward urban sections at each end takes a very different amount of time than a 90 km flat sportive route on open roads.
What matters is total riding time: the combination of distance, terrain, stop lights, regrouping, and your current form. Before confirming a route, estimate the time from the elevation profile and your current fitness pace. If you're planning a 3-hour endurance ride, an optimistic 90 km might be 4 hours on the day you're describing.
The practical fix: convert distance to time first, then work backwards from when you need to be back. A 75 km morning loop at 28 km/h average is roughly 2 hrs 40 minutes of saddle time before any stops. Add 20 minutes for faffing, regrouping, or a brief café stop, and you're looking at a 3-hour door-to-door commitment.
Departure hour matters too, and not just for daylight. Choosing when you leave affects which part of the wind/rain forecast you'll be riding through. We'll come back to that in pillar four.
2) Roads and traffic stress: the route is only good if you'll feel safe on it
Two routes with identical distances and elevations can feel completely different based on what's underfoot and who's sharing the road with you.
The obvious point first: check surface suitability for your tyres. A route drawn over bridleways and gravel tracks is fine on a gravel bike with 38 mm tyres; it's miserable on 25 mm road rubber. Tools like Ride with GPS Route Planner allow you to filter surface preferences (paved, unpaved, or any) before you commit, which saves unpleasant surprises.
Beyond surface, think about traffic stress. "Shortest distance" often routes you along arterials or through retail park roundabouts that are faster on paper but exhausting and uncomfortable to ride. Quiet backroads with a few extra kilometres are almost always the better choice, especially for club runs where the group needs safe, predictable road conditions.
A quick checklist worth running through:
- Are there any long stretches of A-road or dual carriageway that could be avoided?
- How many complex junctions (roundabouts, multi-lane crossings) does the route include?
- Is the surface likely to be continuous, or will there be loose gravel, mud, or pothole clusters in certain sections?
- Are there any awkward contraflows or path crossings that break rhythm?
For club runs especially, road quality and traffic exposure aren't just comfort factors. They're safety factors. A route that puts 20 riders on a fast A-road to save 2 km isn't a good route.
3) Climbs and elevation: look at where the suffering lives, not just the total
Total ascent is one of the most overused and misleading metrics in route selection. 1,500 m of climbing evenly spread across 100 km feels entirely different from 1,500 m lumped into two big climbs at kilometre 60 and 80. The number is the same. The experience isn't.
When you look at an elevation profile, ask:
- Are the climbs front-loaded or do the hardest sections come when you're already tired?
- Are the gradients steady grinds (manageable in a rhythm) or sharp ramps with 10%+ sections that force a gear scramble?
- Do the descents give you proper recovery time, or are they technical and short?
For a climbing improvement session or a PB attempt, you want predictable gradient rhythm and clean road surfaces so you can focus on pace. For a technique or handling day, a rolling circuit with short punchy climbs is more useful. A big audax or sportive demands knowing exactly where the difficult sections fall so you can pace accordingly.
The Komoot Help Centre's route planner guidance makes a good point here: use the elevation profile actively to identify sections you might want to reroute around. Picking up 200 m of unnecessary ascent because the routing engine picked a hillier road is avoidable if you check the profile before you finalise.
4) Wind: the missing variable in route selection
This is the pillar that most route planners ignore entirely, and it's often the one that determines whether a ride feels brilliant or brutal.
Here's the basic physics of it. You experience wind relative to your direction of travel. A westerly wind at 20 km/h is a tailwind if you're heading east, a headwind if you're heading west, and a crosswind if you're heading north or south. The same weather forecast produces a completely different ride depending on your route heading. Two loops departing from the same village on the same morning can feel like different weather entirely.
Crosswinds deserve a specific mention here because they're often underestimated. A sustained crosswind on an exposed section doesn't just slow you down: it creates handling demands, especially for riders on deep-section wheels, and it's fatiguing in a way that a headwind of equivalent speed isn't. On a club run, crosswind sections can split a group and put less experienced riders in difficulty.
The practical workflow for planning with wind direction:
- Know your route's general heading. Is it predominantly north-south, east-west, or a loop that covers multiple directions?
- Check when the wind is expected and from which direction.
- Match departure time to the wind window. For an out-and-back, starting into the headwind and returning with it home is usually better: you do the hard work when you're fresh.
The problem is that checking a single weather forecast for your postcode tells you nothing useful about the wind you'll actually experience along each section of your route. A loop that heads southeast, then northwest, then northeast hits three different wind profiles even if the weather doesn't change. Route-specific wind forecasting for cyclists solves this directly, and it's the core of what Tailwind GPS does.
Where Tailwind GPS changes the decision
Tailwind GPS provides a route-specific Tailwind Score (0-100) for each route and departure hour. That score is built from wind direction and speed sampled along every segment of your route, plus temperature and precipitation along the same path, not just at your front door. Forecasts are available up to 14 days ahead for subscribers (the free plan covers 3 days and up to 3 saved routes).
The score gives you a single number to act on:
- 80-100: Excellent. Conditions are favourable across most of the route. This is your window for high-cadence tempo work, PB attempts, or a fast club run.
- 55-79: Good riding conditions. A solid session is on the cards.
- 40-54: Neutral. The ride will feel like work in places.
- 20-39: Challenging. Treat this as a deliberate headwind training session, or consider whether a different route scores better at the same hour.
- 0-19: The conditions will fight you. Either move your departure time or save your legs for tomorrow.
That last point matters: because Tailwind GPS scores per route per hour, you can compare departure slots side by side and find the one-hour window where a route that looks ugly at 8 am scores 75 at 10 am because the wind shifts. Most cyclists just don't have that visibility without this kind of tool.
Score the hour, not just the line
Upload a GPX or connect Strava, then compare Tailwind Scores across departure hours on the routes you already ride.
5) Navigation: if you can't follow it smoothly, it's not a good route
A technically excellent route that sends you wrong three times in the first 30 km isn't a good route. Navigation quality is part of route quality, and it's worth checking before you set off rather than discovering the problems mid-ride.
What good navigation actually looks like
Reliable navigation means: turn-by-turn prompts before each junction, navigate-to-start if you are not at kilometre zero, and rerouting when you miss a turn. Tailwind GPS does that in the browser on the same route you just scored. A silent breadcrumb on a head unit is not the same job.
The workflow
- Plan in Tailwind GPS — draw, import a GPX, or sync Strava.
- Score the departure hour.
- Start navigation in the browser (voice optional). Follow navigate-to-start if you are off the origin.
- Optional: export GPX to a Garmin or Wahoo if you want a dedicated screen.
A GPX track on a computer is often just a line. Import it as a course if you want on-device arrows. For cycling GPS turn-by-turn on a phone, skip the export and tap Start navigation.
Also worth checking:
- Location permission on the phone before you clip in
- Voice volume if you want spoken cues
- Head-unit turn guidance enabled if you exported GPX
- A screenshot of the route as a backup
Tailwind GPS is the planning layer and the navigation: draw or import, pick the hour, ride with turn-by-turn. A head unit is extra hardware, not a requirement.
Putting it together: 3 route templates for competitive and club cyclists
With all five pillars in mind, here's how they combine in practice.
Template A: PB loop
You want a personal best. The route needs to be fast and predictable.
- Distance/time: manageable with something in the tank for the back half.
- Roads: smooth, low-traffic, minimal disruptive junctions.
- Climbs: front-loaded or spread evenly; no nasty ramps on tired legs.
- Wind: Tailwind Score 75+, departure timed so wind favours the hardest sections. For an out-and-back, confirm which half gets the tailwind.
- Navigation: a route you know well enough not to slow down for junctions.
Template B: Structured training session
You're not chasing pace. You're chasing a specific physiological stimulus.
- Choose the wind and terrain stimulus deliberately. A sustained headwind for endurance work is a legitimate training tool, so a low Tailwind Score (20-39) on a route you know well can be exactly what you want.
- Tailwind GPS's Headwind Training mode flags routes and hours with sustained headwind sections so you don't have to cross-reference forecasts manually.
- For speed work or high-cadence repetitions, flip it: choose the hour where the score is highest on a rolling circuit.
Template C: Weather-safe club ride
You've got 25 riders and a 9 am roll-out. The brief is "make it manageable for everyone."
- Check rain timing along the route, not just the general forecast. Knowing a shower tracks over your return leg between 11 am and noon tells you whether to go out at 8 am or 10 am.
- Avoid exposed wind corridors (upland ridges, coastal sections) when crosswinds are forecast above 25 km/h.
- Tailwind GPS subscribers receive weekly email ride summaries and per-route alerts when conditions hit a threshold. For a club run captain, setting a route alert for Saturday at 80+ means you get a notification when the weekend window is looking good, without checking every day.
Frequently asked questions
What should you prioritise first: distance, climbs, roads, wind, or navigation?
Start with roads and distance because they determine whether the ride is safe and fits your day. Then check wind and departure time before committing to a slot. Climbs and navigation are refinements you layer in once the basics are confirmed.
Is wind only about speed? What about crosswinds?
Wind affects speed, yes, but crosswinds add handling load and can be more fatiguing than a headwind. On exposed sections, a crosswind at 30 km/h is harder to manage than a headwind at 20 km/h. For club runs and anyone on deep-section wheels, crosswind exposure is a genuine route quality factor, not just a comfort issue. See the best wind direction for cycling for more detail on how route heading interacts with forecast wind.
How do I use wind direction without becoming a meteorologist?
You don't need to interpret wind roses or pressure charts. Look at the forecast wind direction, look at your route's main heading, and ask: "Am I riding into it or with it?" For anything more detailed than that, a route-specific score does the work for you. How Tailwind GPS works explains how the scoring translates forecast data into a single usable number.
What's the best way to export and import routes as GPX?
Export as a GPX route file (not a track) from your planning tool. Import into your head unit via USB or your device's companion app. For Garmin, that means Garmin Connect or direct USB transfer to the NewFiles folder. For Wahoo, the ELEMNT app handles imports cleanly. Always verify the file loaded with turn guidance before you leave the house.
How does Tailwind GPS differ from a normal weather app?
A normal weather app gives you a forecast for one location: typically your home postcode or the nearest weather station. Tailwind GPS samples wind, temperature, and precipitation along each segment of your actual route, hour by hour, personalised to your riding pace. The result is a score that tells you how the forecast will affect your specific ride, not just what the conditions are in your garden. Subscriber plans are £2.99/month or £19.99/year (approximately $2.99/$19.99), with a free tier covering 3 routes and a 3-day forecast window.
Stop guessing, start riding
The next time you're planning a Saturday loop, run it through all five pillars. Distance and time fit. Roads and surface match your kit. Climbs land where you can handle them. Wind works in your favour at the departure time you're considering. And the navigation file is ready on the device before you leave.
Connect your Strava account in Tailwind GPS and your existing routes are already there, ready to score. Upload a GPX, or draw a new route on the interactive map. Check the Tailwind Score for each departure hour, pick the window that works, and go ride.
Free accounts cover 3 routes and a 3-day forecast. Subscribers unlock 14 days of planning, route-specific email alerts, and weekly summaries that surface your best riding windows automatically. No complicated setup required.
Try it on the map
Draw a loop, import a GPX, or sync Strava — then pick the window where the wind works for you.
Related posts

Best cycling routes near me: how to find, score and navigate
Nearby is not the same as best. Find cycling routes near you, score the hour, then start in-browser turn-by-turn in Tailwind GPS — or export GPX to a head unit.
·8 min read
Best road bike routes in Amsterdam 2026: 10 free GPX loops
Ten curated road cycling loops from the Tailwind GPS Amsterdam library — distances, elevation, free GPX downloads, and wind-scored departure times.
·3 min read
Best road bike routes in Barcelona 2026: 10 free GPX loops
Ten curated road cycling loops from the Tailwind GPS Barcelona library — distances, elevation, free GPX downloads, and wind-scored departure times.
·3 min read